
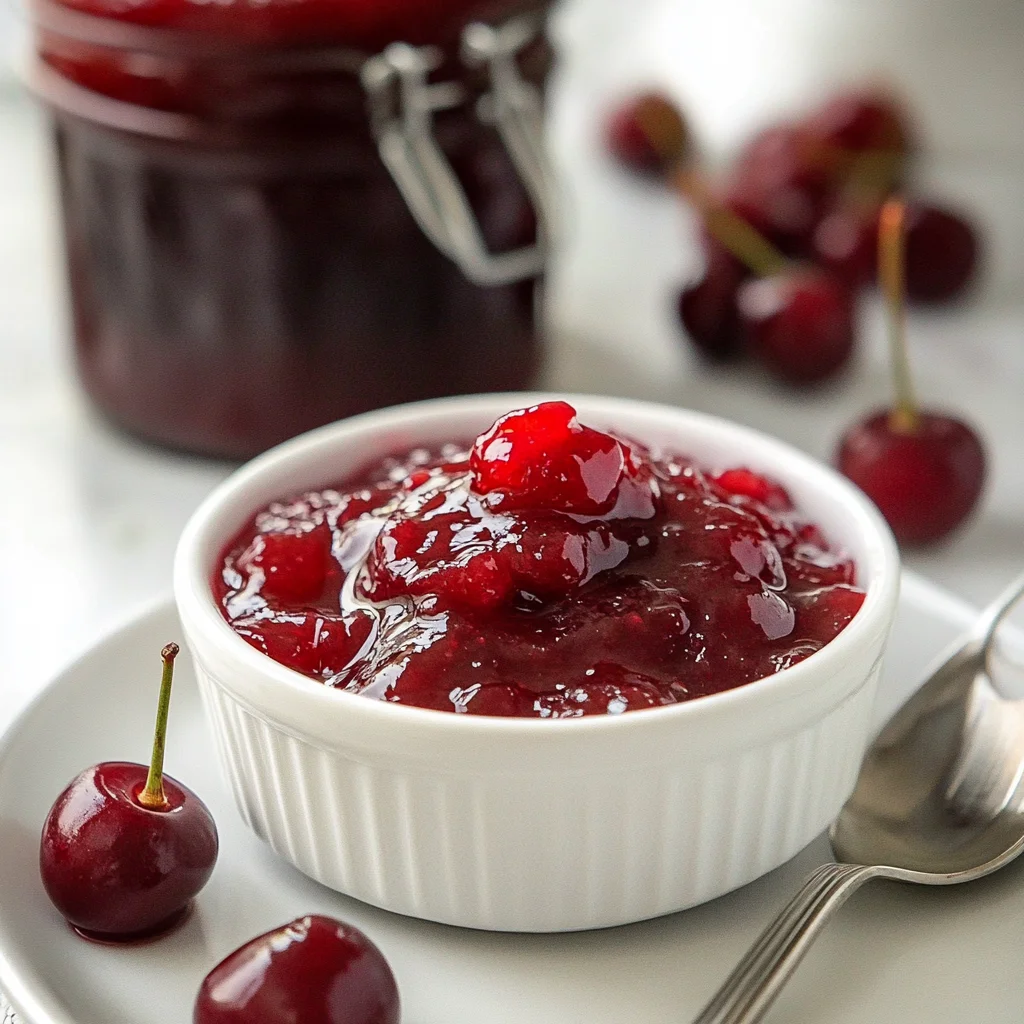
The moment you crack open a jar of homemade cherry jam, the sweet and tangy aroma envelops you, whisking you away to sun-drenched orchards bursting with ripe cherries. Each spoonful is a delightful dance of flavors—the juicy cherries meld beautifully with just the right amount of sugar, creating a luscious spread that transforms your morning toast into a blissful experience.
I remember my grandmother’s kitchen, where we would spend sticky summer afternoons crafting this vibrant jam, laughter echoing as we tasted the bubbling concoction. Perfect for breakfast or as a delightful addition to desserts, this cherry jam promises to elevate any occasion, leaving you eagerly anticipating every last drop of its mouthwatering goodness.
Why Will You Keep Making cherry jam?
Fresh cherries provide a burst of flavor, making each spoonful a delightful treat. Simple ingredients like sugar and lemon juice balance sweetness with a tangy twist. Quick prep time of just 15 minutes means you can enjoy homemade goodness in no time. Versatile use allows for spreading on toast or enhancing desserts, ensuring this jam will be a crowd-pleaser at any gathering!
cherry jam Ingredient List
- 4 cups fresh cherries (pitted and halved) – The star of the show, fresh cherries provide a sweet and tangy flavor that makes this jam irresistible.
- 2 cups granulated sugar – This helps to balance the tartness of the cherries and ensures a delightful sweetness in your cherry jam.
- 1 tablespoon lemon juice (freshly squeezed) – A splash of lemon juice enhances the cherry flavor and helps with preservation.
- 1 package fruit pectin (such as Sure-Jell) – Essential for achieving that perfect jam consistency, it helps thicken your cherry jam beautifully.
How to Make cherry jam
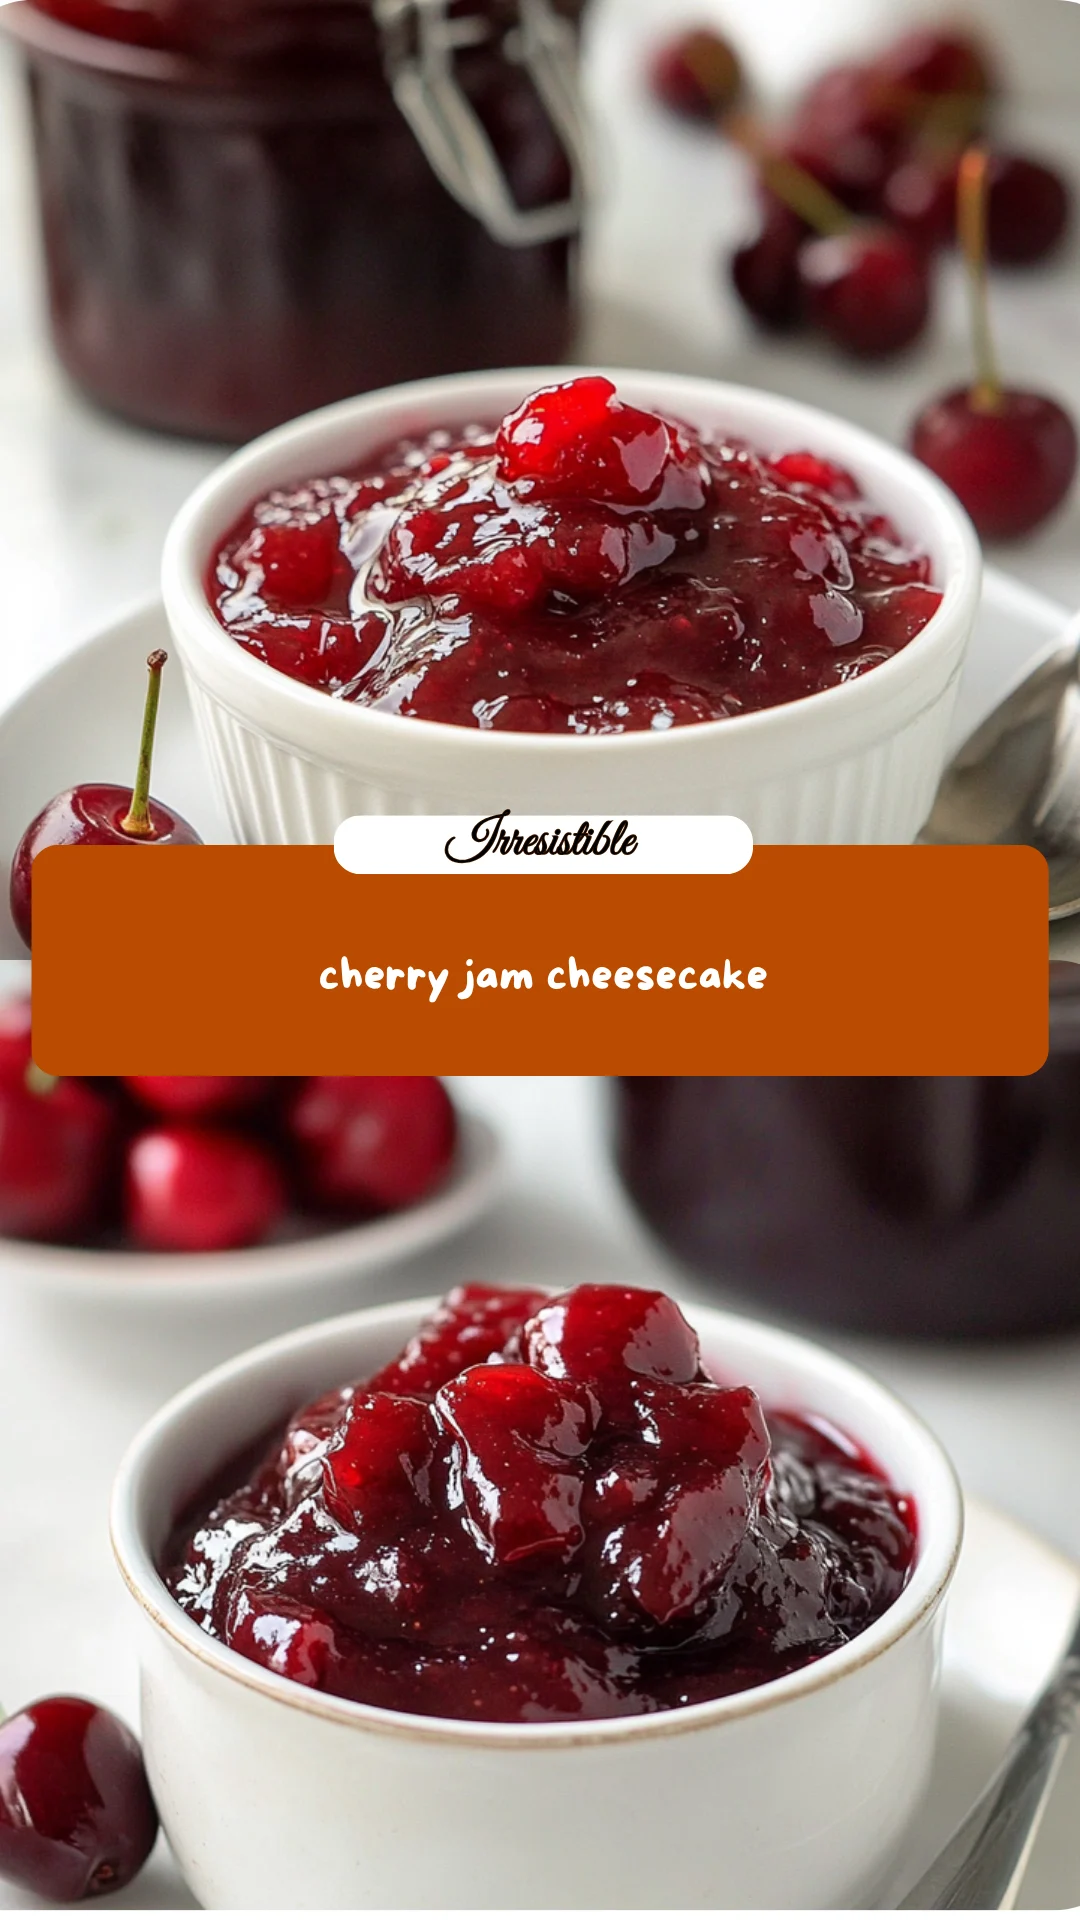
1. Wash and Prepare: Start by washing 4 cups of fresh cherries thoroughly. Remove the pits and halve them to unleash their sweet, juicy goodness.
2. Combine Ingredients: In a large saucepan, mix the prepared cherries with 2 cups of granulated sugar and 1 tablespoon of freshly squeezed lemon juice. Stir over medium heat until the sugar is fully dissolved.
3. Boil the Mixture: Bring your cherry mixture to a boil, then add 1 package of fruit pectin (like Sure-Jell). Stir constantly for about 1-2 minutes until it’s completely dissolved, creating that delightful cherry jam base.
4. Thicken the Jam: Continue boiling for an additional 10-15 minutes, stirring frequently. You’ll know it’s ready when the mixture thickens and turns a vibrant red, perfect for spreading!
5. Cool and Jar: Remove the saucepan from heat and let it cool for a few minutes. Pour your luscious jam into sterilized jars using a canning funnel for easy transfer.
6. Seal and Store: Seal the jars with lids and allow them to cool to room temperature before refrigerating. Soon enough, you’ll have delicious cherry jam ready to enjoy!
Optional: Serve with a sprig of mint for a fresh touch!
Exact quantities are listed in the recipe card below.
Tips for the Best cherry jam
- Cherry Selection: Use ripe, fresh cherries for the best flavor. Overripe or underripe cherries can affect the taste and texture of your cherry jam.
- Pitting Cherries: Invest in a cherry pitter to save time and ensure uniformity. Skipping this step can lead to bitter flavors if any pits remain.
- Sugar Balance: Adjust sugar to your taste, but remember that reducing it too much may prevent proper thickening of the cherry jam.
- Boiling Time: Don’t rush the boiling process! Cook until the mixture reaches a thick consistency; otherwise, your jam may end up runny.
- Cooling Jars: Always use sterilized jars and let them cool completely before sealing. This helps maintain freshness and prevent spoilage in your homemade cherry jam.
- Storage Tips: Store opened jars in the refrigerator and consume within a month for optimal flavor.
How to Store and Freeze cherry jam
- Room Temperature: If unopened, store your cherry jam in a cool, dark place for up to 1 year. Once opened, it should be refrigerated.
- Fridge: After opening, keep the cherry jam tightly sealed in an airtight container. It will stay fresh for up to 3 weeks.
- Freezer: For longer storage, transfer the jam into freezer-safe containers, leaving some space at the top. It can be frozen for up to 1 year.
- Reheating: To enjoy your cherry jam warm, simply scoop out what you need and microwave in short intervals or gently heat on the stove until warmed through.
cherry jam Variations
Feel free to get creative and make this delightful spread uniquely yours with these simple twists!
- Berry Medley: Combine cherries with 1 cup of raspberries or blueberries for a vibrant, mixed fruit flavor. This addition brings a delightful tartness that complements the sweetness beautifully.
- Spiced Delight: Add 1 teaspoon of cinnamon or nutmeg for a warm, cozy twist. The spices will infuse the jam with a lovely aromatic depth, perfect for autumn breakfasts.
- Vanilla Infusion: Stir in 1 teaspoon of vanilla extract while cooking for a rich, sweet aroma. This subtle addition can elevate the overall flavor profile, making your jam feel indulgent.
- Zesty Citrus: Replace lemon juice with lime juice for a tropical flair. The bright citrus notes will add an exciting zing, perfect for summer spreads on toast or scones.
- Honey Sweetener: Swap out granulated sugar for 1 cup of honey for a natural sweetness. Honey can impart its own unique flavor while still preserving the delicious cherry notes.
- Minty Freshness: Fold in ¼ cup of finely chopped fresh mint after cooking for a refreshing twist. This unexpected herbaceous note makes the jam perfect as a topping on desserts or yogurt.
- Heat It Up: Add 1 teaspoon of red pepper flakes during cooking for a spicy kick. The heat pairs wonderfully with the sweetness of the cherries, creating an unforgettable flavor experience.
- Nutty Crunch: Mix in ½ cup of finely chopped walnuts or almonds after cooking for added texture. The nuts provide a satisfying crunch that contrasts beautifully with the smoothness of the jam.
Make Ahead Options
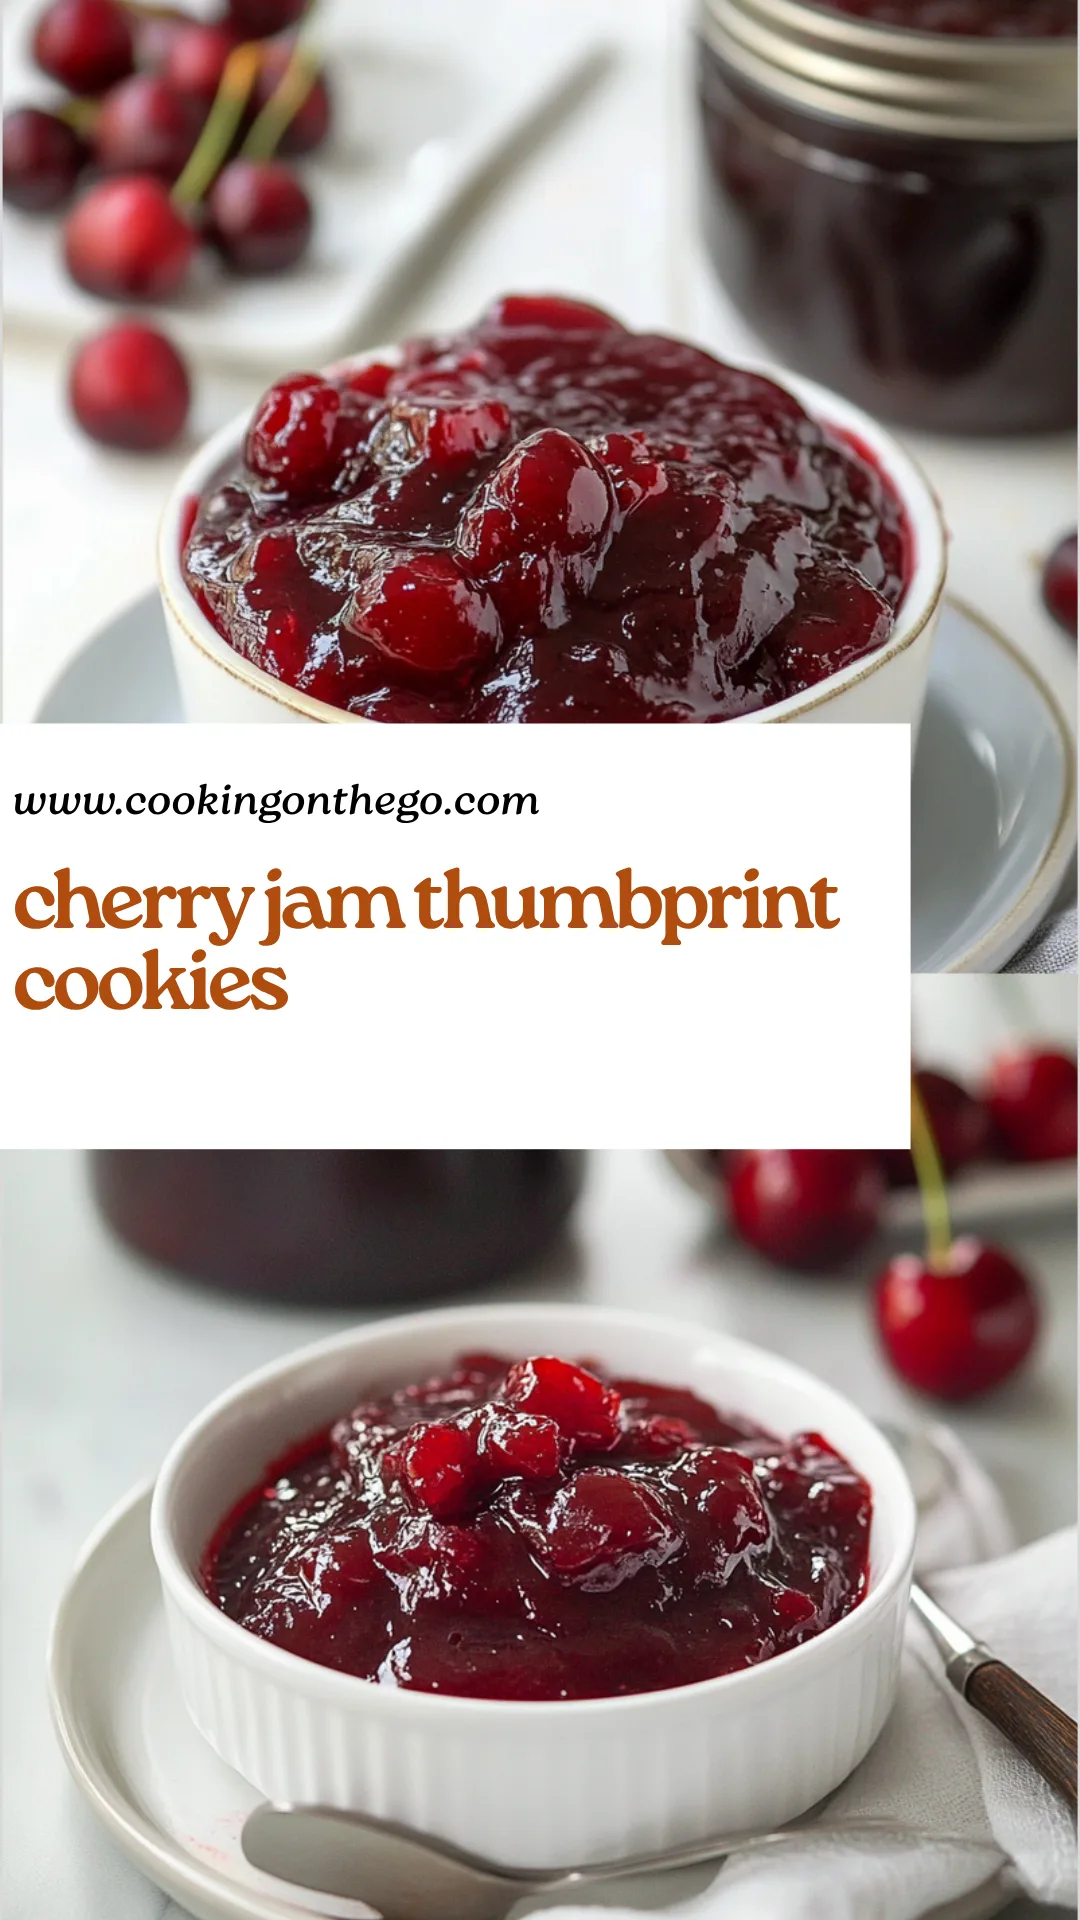
This cherry jam recipe is perfect for meal prep, allowing you to enjoy a burst of sweet and tangy flavor any day of the week. You can prepare the fresh cherries by washing them thoroughly, pitting, and halving them up to 24 hours in advance. The combination of 4 cups of cherries, 2 cups of granulated sugar, and 1 tablespoon of freshly squeezed lemon juice can be mixed in a large saucepan ahead of time as well. Just stir over medium heat until the sugar dissolves, bring to a boil, and follow with the fruit pectin for that luscious consistency. Once cooled, pour your jam into sterilized jars and seal before refrigerating; it will stay fresh for up to three weeks! When you’re ready to serve, simply take it out from the fridge — the delicious cherry jam will be ready to elevate your breakfast or dessert!
cherry jam Recipe FAQs
What type of cherries are best for making cherry jam?
Sweet cherries, such as Bing or Rainier, are fantastic for this cherry jam recipe. Their natural sweetness will shine through, creating a delightful balance of flavors. If you prefer a tart profile, consider using sour cherries, which will add a lovely tang to your jam.
How should I store my homemade cherry jam?
Once your cherry jam is jarred and sealed, it can be stored in the refrigerator for up to three weeks. For longer storage, keep it in a cool, dark place like a pantry or cupboard. Just make sure the jars are properly sealed to prevent any spoilage!
Can I freeze cherry jam?
Absolutely! Your homemade cherry jam can be frozen for up to one year. Just pour the cooled jam into freezer-safe containers, leaving some space at the top for expansion. When you’re ready to enjoy it, simply thaw it in the refrigerator overnight.
What if my cherry jam doesn’t thicken?
If your cherry jam does not thicken after boiling for 10-15 minutes, it might need more pectin. You can dissolve an additional tablespoon of fruit pectin in a small amount of water and stir it into the mixture while it’s still hot. Return it to a boil for a couple more minutes until thickened.
How many servings does this recipe yield?
This cherry jam recipe yields about 4 servings, with each serving containing approximately 150 calories. Perfect for spreading on toast or adding to desserts!
Can I adjust the sugar content in the recipe?
Certainly! While 2 cups of granulated sugar is ideal for balancing the sweetness and tanginess of the cherries, you can reduce the sugar by up to half if you prefer a less sweet jam. Just keep in mind that this may affect the overall consistency and shelf-life of the finished product.
Cherry Jam
Ingredients
Method
- Wash the cherries thoroughly, remove the pits, and halve them.
- In a large saucepan, combine the cherries, sugar, and lemon juice. Stir over medium heat until the sugar dissolves.
- Bring the mixture to a boil, then add the fruit pectin. Stir constantly for 1-2 minutes until fully dissolved.
- Continue boiling for 10-15 minutes, stirring frequently, until the mixture thickens.
- Remove the saucepan from heat and let it cool for a few minutes. Pour the jam into sterilized jars using a canning funnel.
- Seal the jars with lids and let them cool to room temperature before refrigerating.