
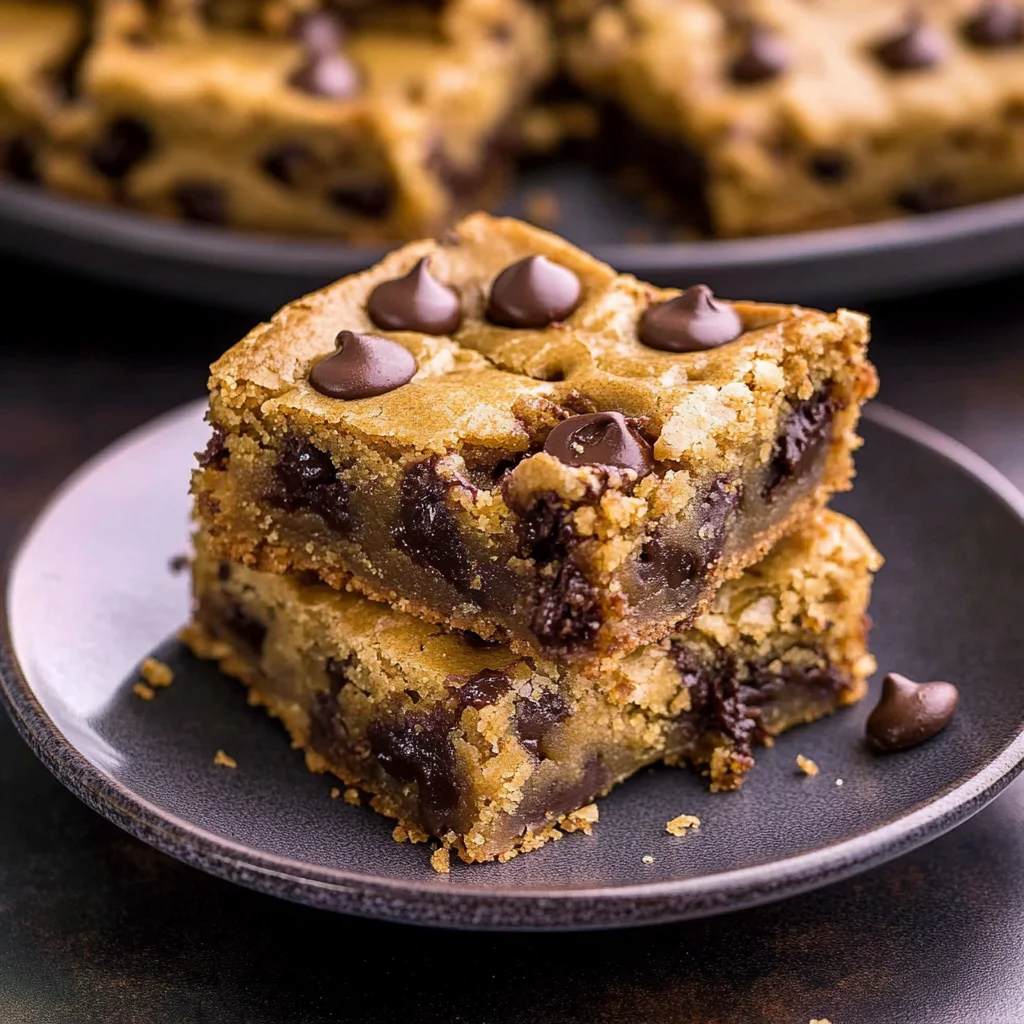
Imagine biting into a warm, gooey cookie bar that bursts with rich chocolate chips and crunchy nuts, creating a delightful symphony of flavors and textures. The sweet aroma wafts through the air, inviting you to indulge in this heavenly treat that’s both chewy and satisfying, perfect for any occasion when you need a little pick-me-up or a sweet celebration.
These cookie bars bring back memories of baking with my grandmother, her infectious laughter filling the kitchen as we mixed the ingredients together. Whether it’s a cozy family gathering or an afternoon snack with friends, every bite promises a nostalgic flavor experience that will have everyone asking for seconds—or thirds!
Why Will You Keep Making cookie bars?
Deliciously chewy and packed with flavor, these cookie bars are a treat everyone will adore! Rich butter and brown sugar create an irresistible base, while semi-sweet chocolate chips add delightful bursts of sweetness. Quick to prepare, you’ll have warm, gooey bars in just 40 minutes—perfect for last-minute gatherings. Plus, customize with your favorite nuts or mix-ins to make each batch unique!
cookie bars Ingredients
- For the Batter
- 1 cup unsalted butter (softened) – This creamy butter adds richness and helps create that delightful chewy texture in your cookie bars.
- 1 cup brown sugar (packed) – The molasses in brown sugar brings a warm sweetness and enhances the flavor profile of your cookie bars.
- 1/2 cup granulated sugar – Adding granulated sugar balances the sweetness while contributing to the perfect golden-brown color.
- 2 large eggs – Eggs provide moisture and stability, ensuring your bars rise beautifully during baking.
- 2 teaspoons vanilla extract – A splash of vanilla extract elevates the flavor, adding a warm, aromatic note to your treats.
- 2 cups all-purpose flour – Flour is the foundation for your cookie bars, giving them structure while keeping them soft and chewy.
- 1 teaspoon baking soda – This leavening agent helps your cookie bars rise and achieve a light texture without being too cakey.
- 1/2 teaspoon salt – A pinch of salt enhances all the flavors, making each bite more delicious.
- Mix-ins
- 1 cup chocolate chips (semi-sweet) – These delightful morsels melt into gooey pockets of chocolate throughout your cookie bars, making them irresistible.
- 1/2 cup chopped nuts (optional) – Adding nuts provides a satisfying crunch and complements the sweetness of the chocolate chips perfectly.
How to Make cookie bars

1. Preheat the oven to 350°F (175°C). Greasing and lining your baking pan with parchment paper will ensure those delicious cookie bars come out perfectly without sticking.
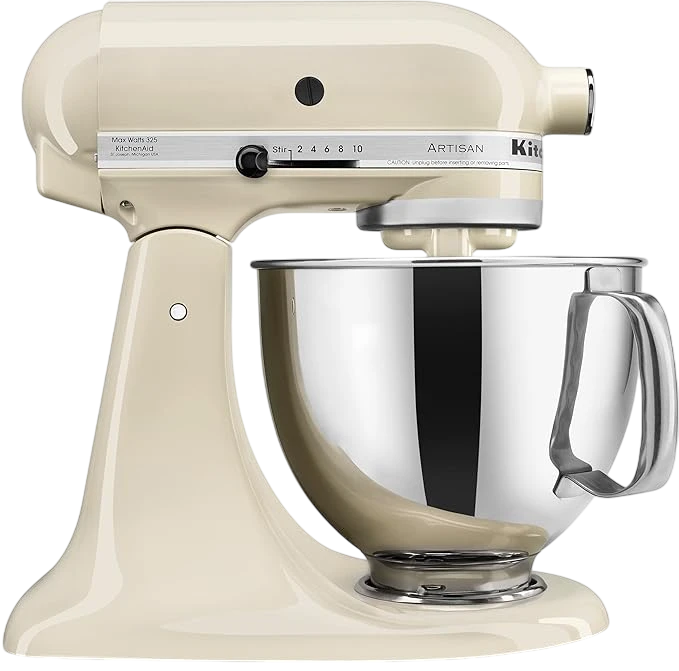
2. Cream together the softened butter, brown sugar, and granulated sugar in a mixing bowl until smooth and fluffy. This mixture should feel light and airy—an essential step for that chewy texture!
3. Add the eggs one at a time, mixing well after each addition. Stir in the vanilla extract, letting that warm aroma fill your kitchen. Each egg adds richness to your cookie bars.
4. Whisk together the flour, baking soda, and salt in a separate bowl until well combined. This dry mix is key to achieving the right balance of flavor and texture in your cookie bars.
5. Gradually add the dry ingredients to the wet ingredients, mixing until just combined. Be careful not to overmix; you want those cookie bars to remain tender and chewy.
6. Fold in the chocolate chips and nuts if using, ensuring every bite will be packed with gooey chocolate goodness and delightful crunch!
7. Spread the batter evenly in the prepared baking pan, smoothing out the top with a spatula for an even bake that results in perfectly cut cookie bars.
8. Bake in the preheated oven for 20-25 minutes, or until the edges are golden brown and a toothpick inserted in the center comes out clean—a sign of deliciousness!
9. Cool in the pan for 10 minutes before transferring to a wire rack to cool completely. This helps maintain that ideal chewy texture while allowing flavors to develop further.
10. Cut into bars and serve! Enjoy these delightful treats as a sweet surprise for family or friends—they’re sure to love them!
Optional: Drizzle with melted chocolate for an extra indulgent touch.
Exact quantities are listed in the recipe card below.
Expert Tips
- Butter Matters: Use softened butter for better creaming; cold butter will result in dense cookie bars instead of chewy ones.
- Egg Temperature: Ensure your eggs are at room temperature for a smoother batter, which helps the cookie bars rise evenly.
- Don’t Overmix: Once you add the dry ingredients, mix until just combined; overmixing can lead to tough cookie bars.
- Parchment Paper: Lining your baking pan with parchment paper will make it easier to lift out the cookie bars and cut them neatly.
- Cooling Time: Allow the cookie bars to cool in the pan for at least 10 minutes before transferring; this prevents them from falling apart when cut.
How to Store and Freeze cookie bars
Room Temperature: Keep your cookie bars in an airtight container at room temperature for up to 3 days to maintain their chewy texture and flavor.
Fridge: If you want them to last longer, refrigerate the cookie bars in a sealed container for up to 1 week. Just let them come to room temperature before enjoying.
Freezer: For longer storage, freeze individually wrapped cookie bars in plastic wrap or foil for up to 3 months. Thaw in the fridge overnight before indulging.
Reheating: To enjoy that fresh-baked warmth again, reheat cookie bars in the microwave for about 10-15 seconds, just until warm and gooey!
Make cookie bars Your Own
Feel free to get creative with your baking and customize these treats to suit your taste buds!
- Nut-Free: Omit the nuts entirely or replace them with an extra half cup of chocolate chips for a double-chocolate delight. This keeps the texture chewy while ensuring everyone can enjoy them.
- Gluten-Free: Substitute the all-purpose flour with a gluten-free blend to make these bars accessible for everyone. Just ensure the blend contains xanthan gum for optimal structure and chewiness.
- Vegan: Swap out the butter for coconut oil and use flax eggs (2 tablespoons ground flaxseed mixed with 6 tablespoons water) instead of regular eggs. You’ll still achieve that lovely chewy texture while keeping it plant-based.
- Add Spices: Enhance the aroma by adding a teaspoon of cinnamon or a pinch of nutmeg to the base ingredients. The warmth of the spices will elevate your cookie bars into something truly special.
- Oatmeal Twist: Mix in 1 cup of rolled oats along with the chocolate chips for added texture and a hearty feel. The oats lend a delightful chewiness that complements the richness of the chocolate perfectly.
- Caramel Surprise: Fold in 1/2 cup of caramel bits alongside your chocolate chips for a sweet surprise in every bite. This addition creates pockets of gooey goodness that elevate your cookie bars to divine status.
- Coconut Infusion: Add 1/2 cup of shredded coconut for a tropical twist, providing a chewy texture and unique flavor profile. Pairing coconut with chocolate is always a winning combination!
Make Ahead Options

These chewy cookie bars are a fantastic choice for meal prep, allowing you to indulge in sweet goodness anytime. You can prepare the base ingredients—like the softened unsalted butter, packed brown sugar, and granulated sugar—up to 24 hours in advance. Simply cream these together with the eggs and vanilla extract when you’re ready to bake. Additionally, you can whisk together the dry ingredients (flour, baking soda, and salt) and store them in an airtight container for up to three days. To maintain the quality of your cookie bars, be sure to keep them tightly wrapped after baking; this will help retain their chewiness. When you’re ready to serve, just cut them into bars after they’ve cooled completely on a wire rack. Enjoy your delicious cookie bars fresh or slightly warmed—either way, they’re bound to be a hit!
cookie bars Recipe FAQs
What type of butter should I use for cookie bars?
Using unsalted butter is ideal for this recipe as it allows you to control the saltiness of your cookie bars. Make sure the butter is softened to room temperature so it creams well with the sugars, resulting in a smooth and fluffy batter.
Can I substitute brown sugar for granulated sugar or vice versa?
Yes, you can! If you want a richer flavor, try using all brown sugar instead of granulated sugar. This will also give your cookie bars a chewier texture. On the other hand, if you prefer a lighter taste, feel free to use all granulated sugar—just keep in mind that the final product may be less chewy.
How should I store leftover cookie bars?
To keep your cookie bars fresh, store them in an airtight container at room temperature for up to 3 days. If you want them to last longer, refrigerate them for up to a week. Just let them come back to room temperature before enjoying for the best taste!
Can I freeze these cookie bars?
Absolutely! Once cooled, wrap the cookie bars tightly in plastic wrap and then place them in a freezer-safe bag or container. They can be frozen for up to 3 months. When you’re ready to enjoy them, simply thaw at room temperature or pop them in the microwave for a quick reheat.
What if my cookie bars are too dry?
If you find that your cookie bars are too dry after baking, it could be due to over-mixing or over-baking. To prevent this next time, mix just until combined and keep an eye on them while baking—remove from the oven when the edges are golden and a toothpick comes out clean but not dry.
How many servings do these cookie bars yield?
This recipe makes about 16 deliciously chewy cookie bars, perfect for sharing with family and friends! Each bar contains roughly 250 calories, making them an indulgent yet manageable treat for any occasion.