
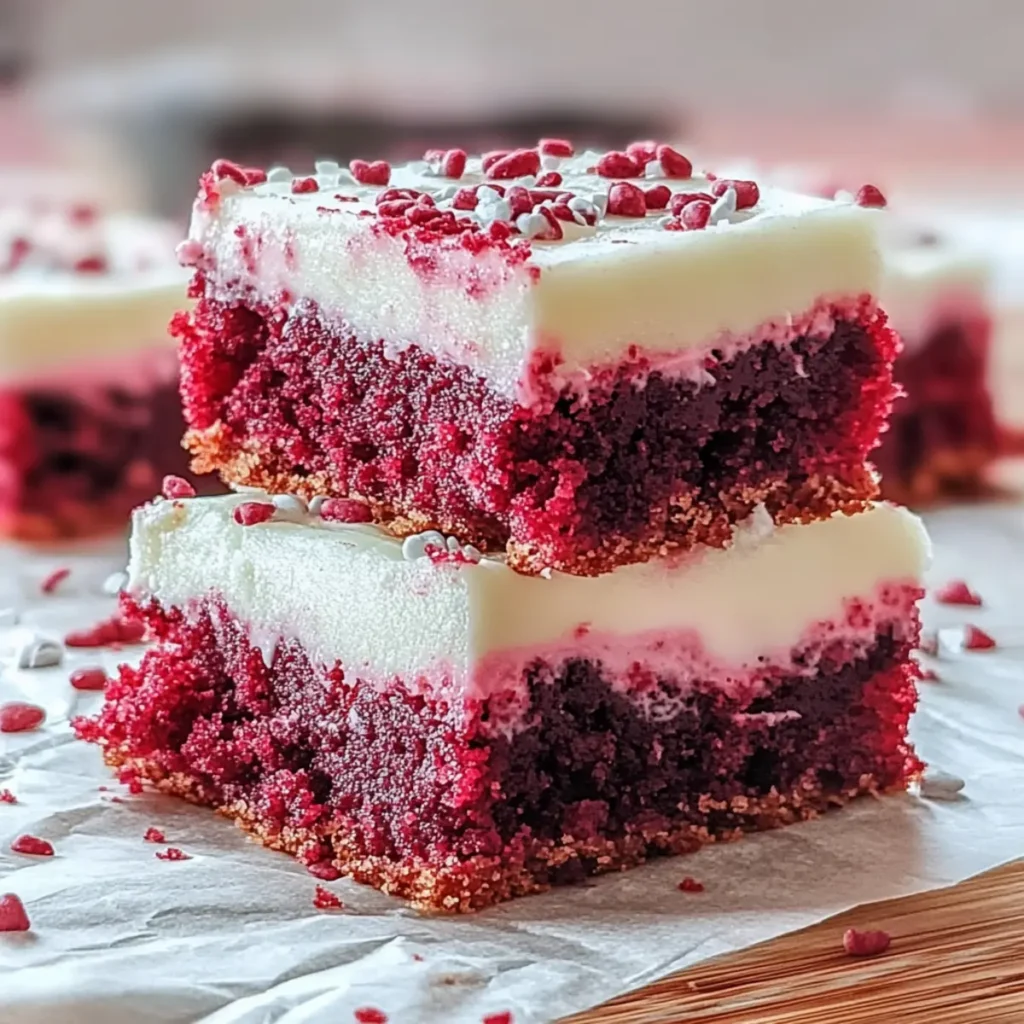
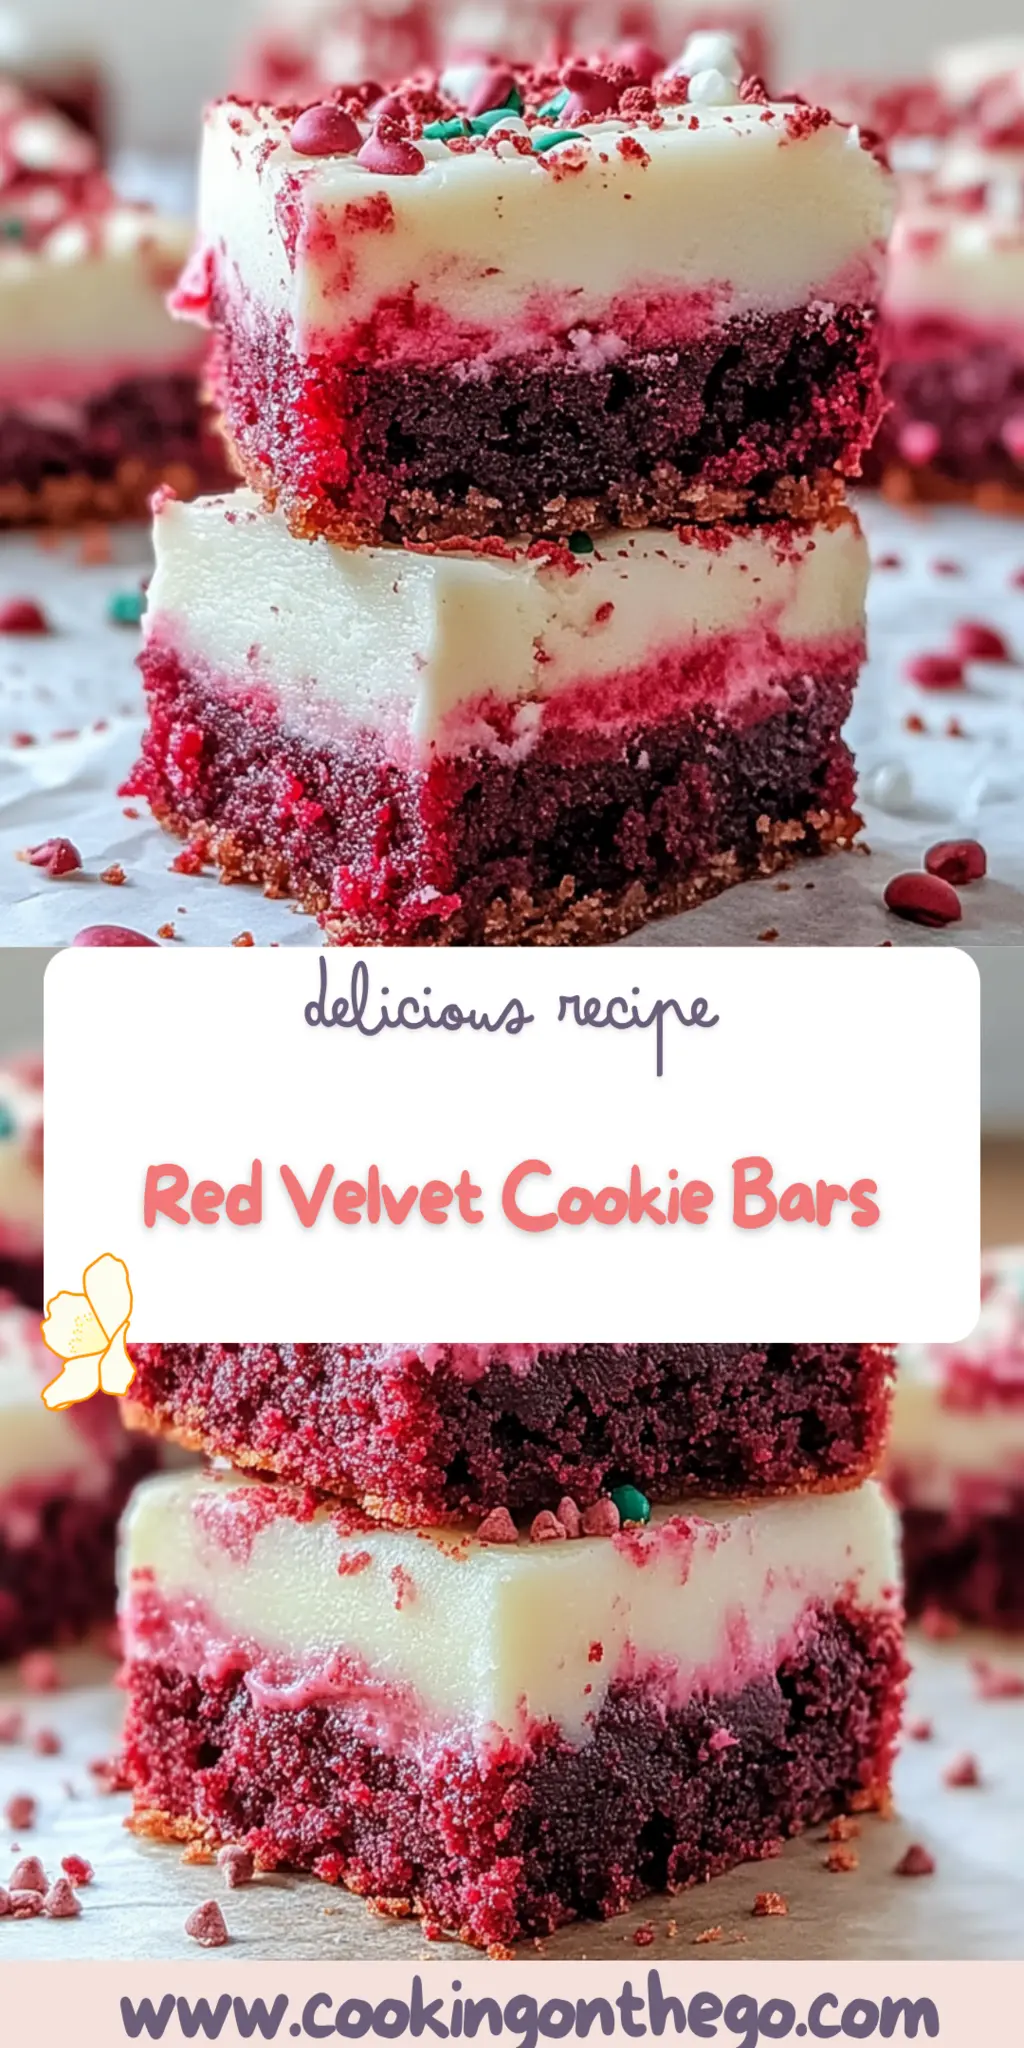
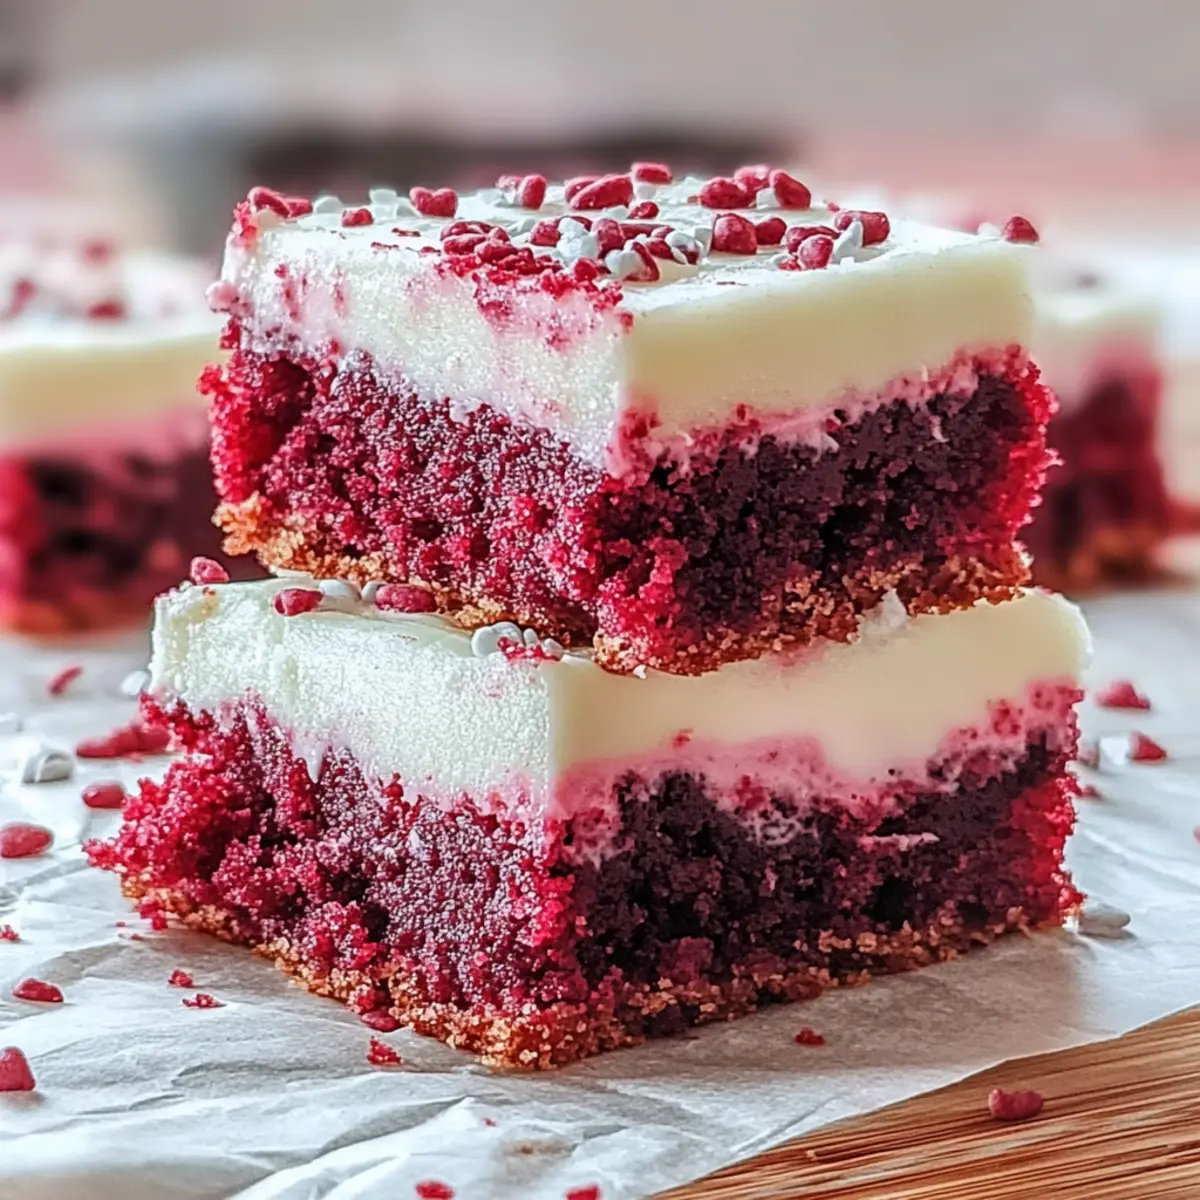
There’s something undeniably magical about the color red when it shows up in desserts, right? Red velvet cookie bars are not just a feast for the eyes; they deliver a taste sensation that will leave you dreaming of sweet, velvety goodness. Imagine sinking your teeth into a soft, chewy cookie bar infused with just the right amount of cocoa sweetness, topped with a luscious cream cheese frosting that melts in your mouth. Yes, this is a dessert worth celebrating, and it’s perfect for any occasion, from birthdays to a simple Sunday treat.
You might be wondering when is the best time to whip up these luxurious red velvet cookie bars? The answer is, right now! Unleash your inner baker and treat yourself and your loved ones to this delightful dessert. Whether you’re hosting a dinner party or just looking for a sweet escape after a long week, this recipe is sure to be a hit. So roll up your sleeves and let’s dive into the world of these decadent cookie bars.
Why You'll Love This Red Velvet Cookie Bars
- This incredible Red Velvet Cookie Bars transform simple everyday ingredients into restaurant-quality flavors that will blow your mind completely.
- Foolproof recipe techniques guarantee perfect results every single time, making even novice cooks feel like professional chefs instantly.
- Stunning visual appeal with gorgeous colors and mouthwatering aromas creates the ultimate Instagram-worthy dish for any special occasion.
- Endlessly adaptable for different dietary needs while working beautifully for meal prep, date nights, or entertaining large groups effortlessly.
Ingredients for Red Velvet Cookie Bars
Here’s what you’ll need to make this delicious Red Velvet Cookie Bars:
2 cups all-purpose flour – The foundation of your cookie bars, providing structure. Always sift it for a lighter texture.
¼ cup unsweetened cocoa powder – Adds depth of flavor and that classic chocolatey undertone we love in red velvet.
1 cup granulated sugar – A sweetener that caramelizes beautifully during baking, giving your bars a lovely golden edge.
½ cup brown sugar – Enhances moisture and adds a hint of molasses flavor that complements the cocoa perfectly.
½ cup unsalted butter, softened – Balances richness and flavor, making those cookie bars wonderfully chewy.
2 large eggs – Binds the ingredients together while providing moisture and a bit of richness.
1 tbsp red food coloring – This is what gives your bars their signature, breathtaking hue. A little goes a long way!
1 tsp vanilla extract – Adds warmth and a lovely aroma to your dessert.
8 oz cream cheese, softened (for frosting) – The star of your frosting! It must be creamy and easy to spread.
2 cups powdered sugar (for frosting) – Sweetens your frosting and helps it achieve that silky smooth texture.
1 tsp vanilla extract (for frosting) – Just like with the cookie mix, this adds that amazing flavor we can’t get enough of.
How to Make Red Velvet Cookie Bars
Follow these simple steps to prepare these delicious Red Velvet Cookie Bars:
Step 1: Preheat the Oven
Preheat your oven to 350°F (175°C) and line a 9×13 inch baking dish with parchment paper. You want to create a non-stick surface that makes removing those beautiful cookie bars a cinch.
Step 2: Whisk the Dry Ingredients
In a mixing bowl, whisk together the flour, cocoa powder, baking soda, and a pinch of salt. This step ensures that your dry ingredients are well combined and ready to mingle.
Step 3: Cream the Butter and Sugars
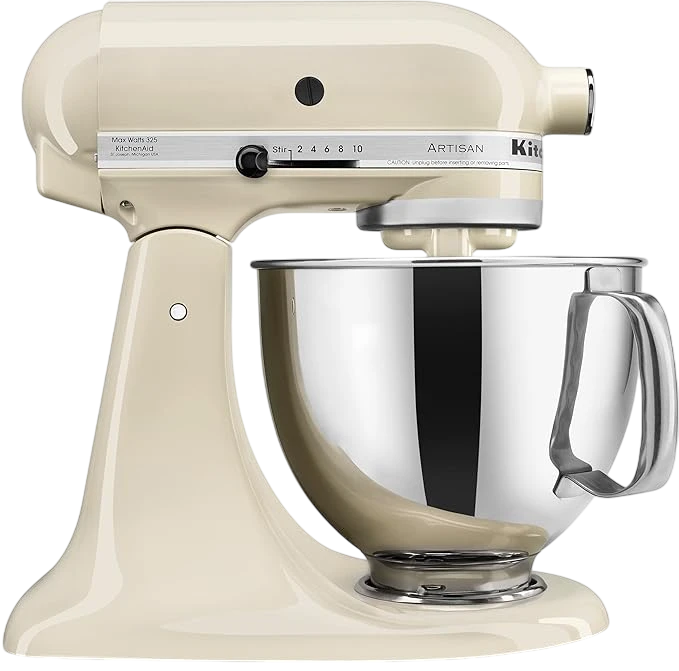
In another large bowl, cream together the softened butter, granulated sugar, and brown sugar using an electric mixer until you achieve a light and fluffy consistency. You’re looking for that magical transformation—a pale, airy mixture that instantly lifts your spirits!
Step 4: Mix in the Eggs and Flavoring
Add the eggs, one at a time, mixing well after each addition. Then, stir in the red food coloring and vanilla extract, watching as your batter transforms into a dazzling, ruby masterpiece.
Step 5: Combine Wet and Dry Ingredients
Gradually add your dry mixture to the wet batter until just combined. Don’t overmix! We want those cookie bars to be soft and tender—not tough like an old boot.
Step 6: Bake and Cool
Spread the cookie dough evenly in the prepared pan and bake for 20-25 minutes. Check with a toothpick; if it comes out clean, it’s time to let them cool completely. Patience is key here—allow them to cool down before frosting to avoid a melty mess.
Step 7: Frost and Serve
Once cooled, prepare your cream cheese frosting by mixing softened cream cheese, powdered sugar, and vanilla until creamy. Spread it generously over your cooled cookie bars. Cut them into squares, serve, and watch them disappear faster than you can say “red velvet!”
Invite your friends over, serve these red velvet cookie bars, and bask in the glory of their delighted faces. Trust me: once you’ve made these, they’ll quickly become your go-to recipe for sweet celebrations! So, roll up your sleeves, channel that inner chef, and start baking, because these red velvet cookie bars are a bite-sized revelation!

You Must Know About Red Velvet Cookie Bars
- This showstopping Red Velvet Cookie Bars delivers restaurant-quality results using simple ingredients you probably already have at home.
- The perfect balance of textures and flavors creates an unforgettable dining experience that will have everyone asking for seconds.
- Picture-perfect presentation with vibrant colors makes this dish absolutely Instagram-worthy and guaranteed to impress any dinner guest.
- Incredibly versatile recipe that works beautifully for weeknight dinners, meal prep, special occasions, or even outdoor entertaining sessions.
Perfecting Red Velvet Cookie Bars Cooking Process
To ensure your Red Velvet Cookie Bars are a heavenly treat, start by creaming the butter and sugars until fluffy. Then, combine your wet and dry ingredients efficiently, and bake to golden perfection. This method keeps everything tender and delicious.
Add Your Touch to Red Velvet Cookie Bars
Feel free to customize your Red Velvet Cookie Bars by adding white chocolate chips, nuts, or even a sprinkle of sea salt on top of the frosting. These little touches can elevate the flavor profile and make it uniquely yours.
Storing & Reheating Red Velvet Cookie Bars
Store your Red Velvet Cookie Bars in an airtight container at room temperature for up to three days. For longer storage, refrigerate for up to a week. To reheat, simply warm them in the microwave for a few seconds before indulging.
Chef's Helpful Tips for Red Velvet Cookie Bars
- This professional-quality Red Velvet Cookie Bars relies on precise timing and temperature control to achieve restaurant-standard results consistently.
- Master the art of mise en place by prepping all ingredients beforehand, ensuring smooth execution and preventing any last-minute cooking disasters.
- The secret lies in layering flavors throughout the cooking process rather than seasoning only at the end for maximum depth.
- Pro tip: let the finished dish rest for optimal texture and flavor development before serving to hungry guests waiting eagerly.
The first time I made Red Velvet Cookie Bars, I took them to a potluck, and they disappeared faster than you can say “delicious dessert.” My friends still talk about that day—and I think they were just as impressed with my cooking skills as they were with the bars themselves!
FAQs About Red Velvet Cookie Bars
What are Red Velvet Cookie Bars?
Red Velvet Cookie Bars are a delightful twist on the classic red velvet cake. These bars combine the signature red hue and chocolate-decadent flavor of red velvet with the chewy texture of cookie bars. Topped with a rich cream cheese frosting, they are a visually stunning and delicious dessert perfect for any occasion. Whether it’s a festive gathering or a simple weeknight treat, these bars are sure to impress your friends and family.
Can I make Red Velvet Cookie Bars ahead of time?
Absolutely! You can prepare your Red Velvet Cookie Bars in advance. Just bake the bars, let them cool completely, and then frost them with cream cheese frosting. Store the cut bars in an airtight container at room temperature for up to three days. If you need a longer storage solution, place them in the refrigerator where they can last for up to a week. Just remember to allow them to come to room temperature before indulging.
What can I add to my Red Velvet Cookie Bars?
Feel free to get creative! You can enhance your Red Velvet Cookie Bars by adding mix-ins like white chocolate chips, chopped nuts, or even a sprinkle of chocolate or sea salt on top of the frosting. These additions can add exciting flavor and texture variations. Experimenting with these modifications can make your dessert even more enjoyable and tailored to your taste preferences.
How should I store leftover Red Velvet Cookie Bars?
To keep your leftover Red Velvet Cookie Bars fresh and tasty, store them in an airtight container at room temperature for up to three days. If you want to extend their shelf life, pop them in the fridge; they’ll stay good for up to a week. When you’re ready to enjoy them again, simply warm them briefly in the microwave for a few seconds to restore their delightful texture.
Conclusion for Red Velvet Cookie Bars
Red Velvet Cookie Bars are not only easy to make but also incredibly rewarding to share. Their vibrant color, chewy texture, and creamy frosting make them a showstopper in any dessert lineup. By following this recipe, you’ll create deliciously irresistible treats that are sure to delight your friends and family. Embrace the joy of baking and enjoy every moment as you whip up these delightful Red Velvet Cookie Bars for any occasion.
Deliciously Easy Red Velvet Cookie Bars with Cream Cheese Frosting
Ingredients
Equipment
Method
- Preheat your oven to 350°F (175°C) and line a 9×13 inch baking dish with parchment paper.
- In a bowl, whisk together flour, cocoa powder, baking soda, and salt.
- In another bowl, cream together the butter, granulated sugar, and brown sugar until light and fluffy.
- Add eggs one at a time, mixing well after each addition. Stir in red food coloring and vanilla extract.
- Gradually combine the dry ingredients with the wet mixture until just mixed.
- Spread dough evenly in the prepared pan and bake for 20-25 minutes or until a toothpick inserted comes out clean.
- Allow to cool completely before spreading cream cheese frosting on top.