
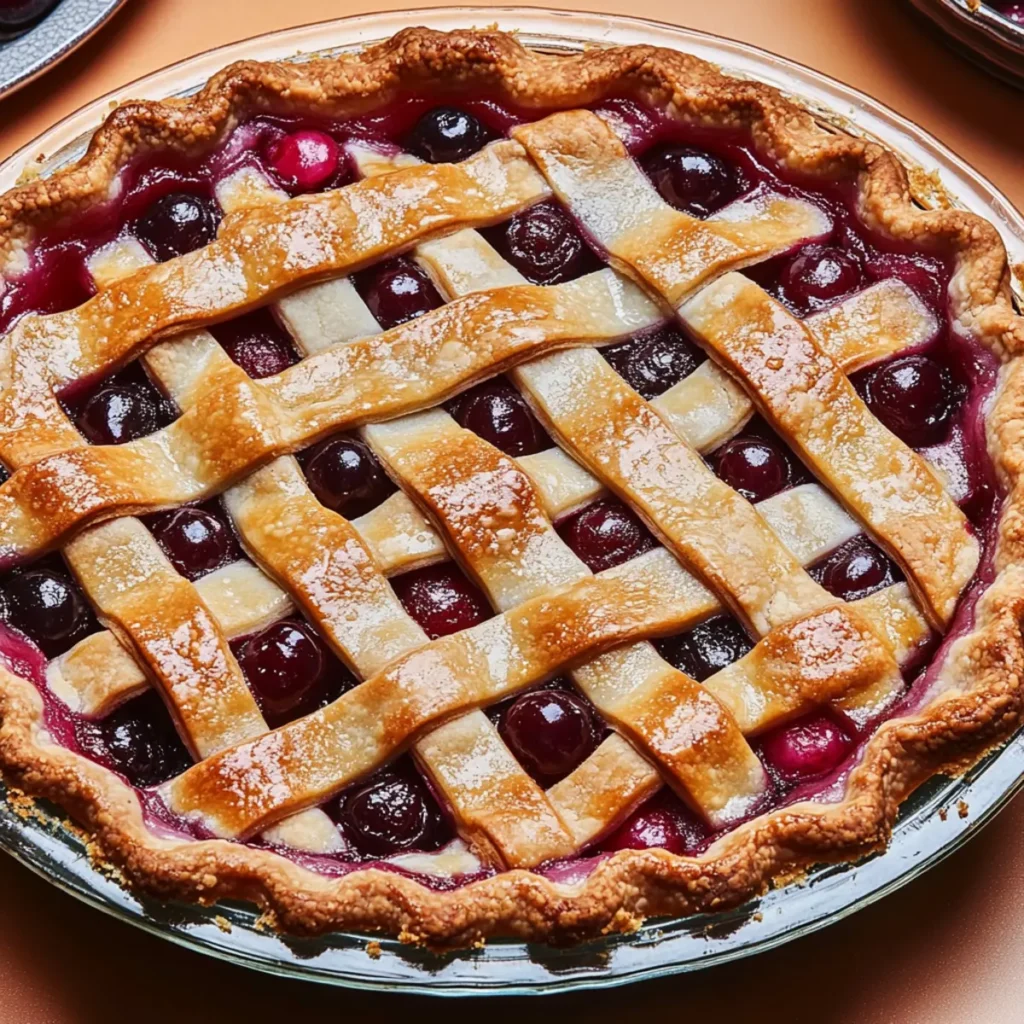
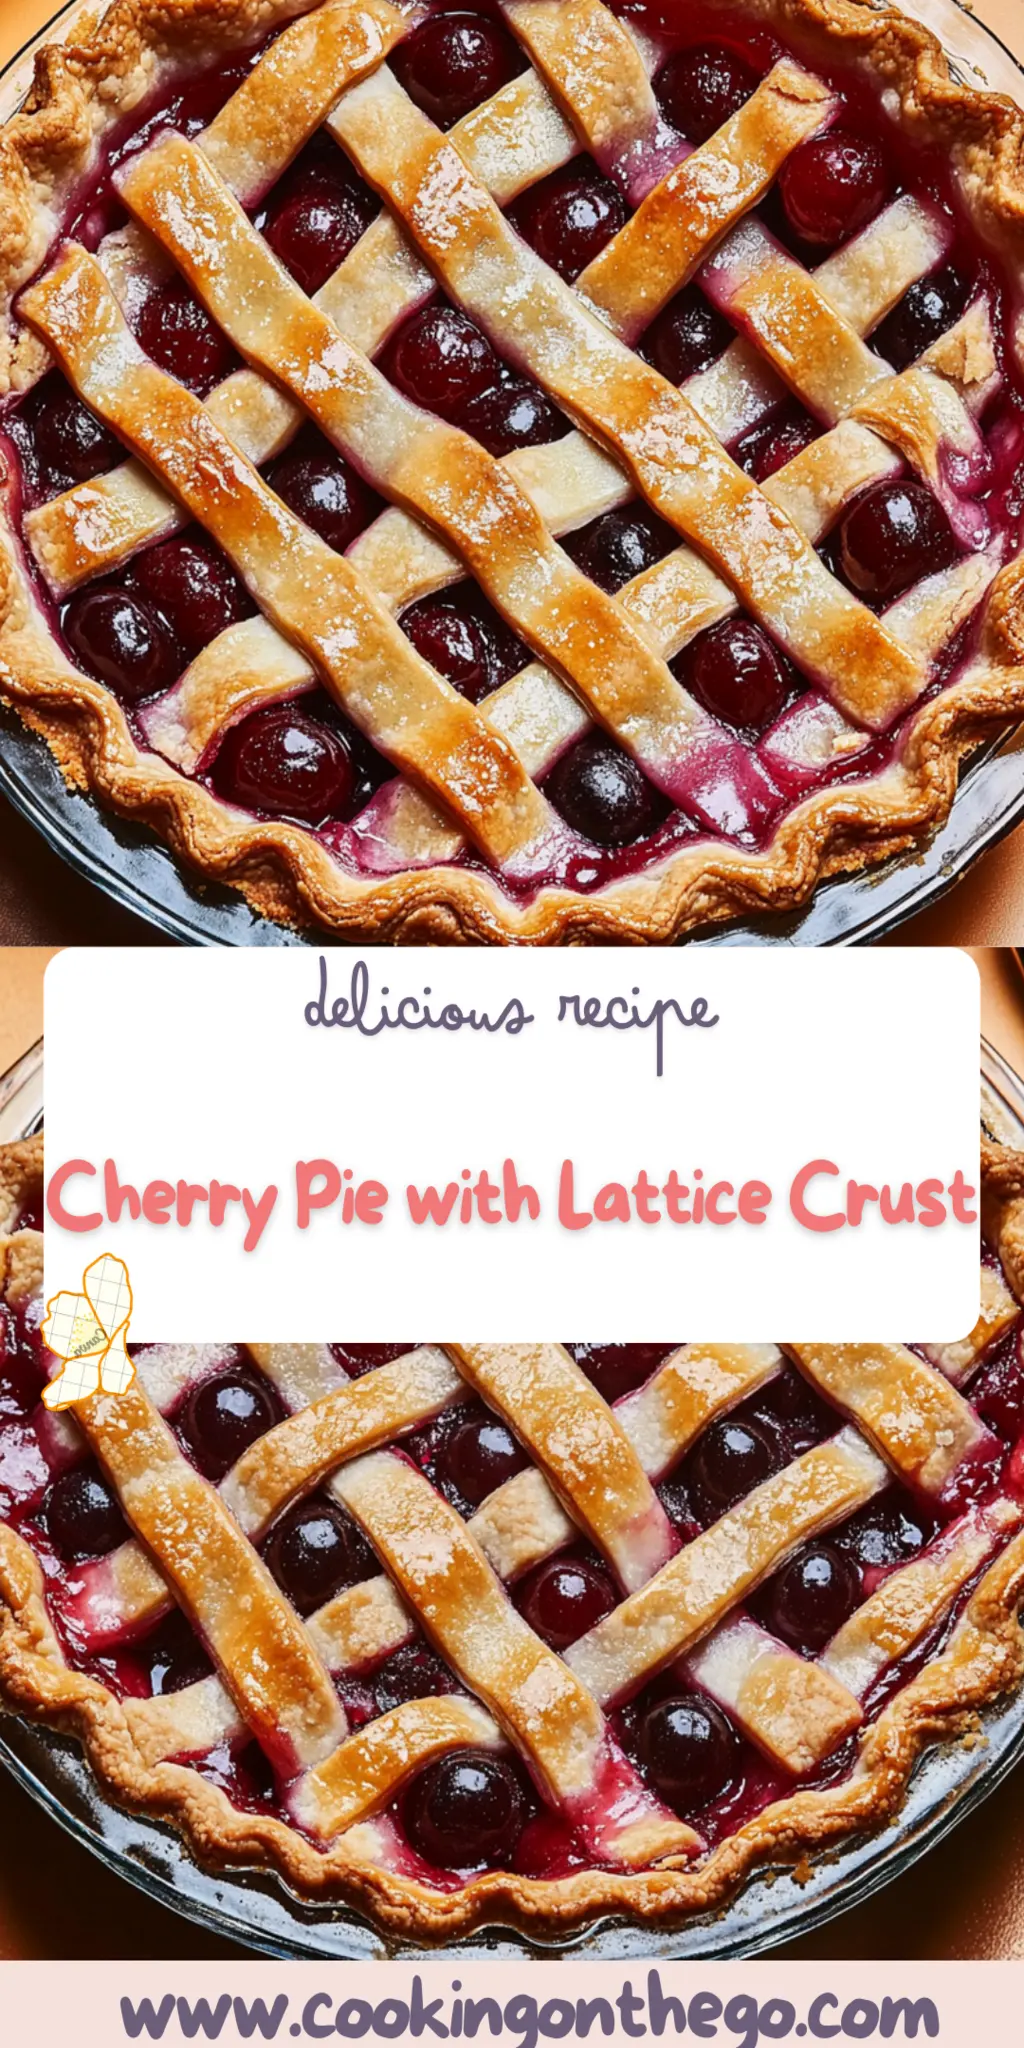
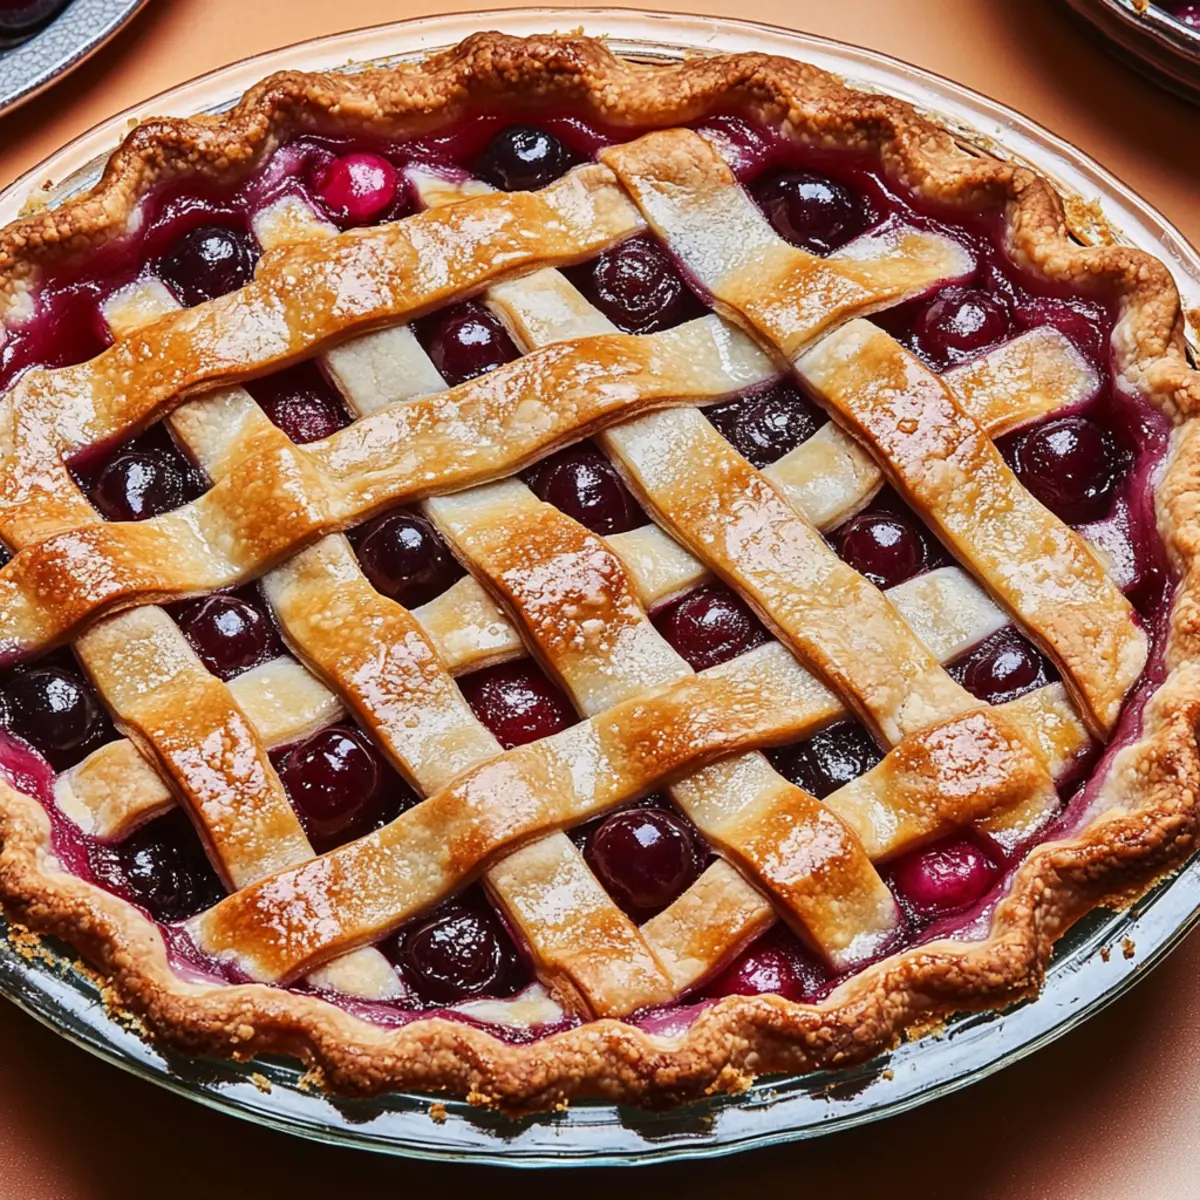
There’s something undeniably enchanting about an oven-baked Cherry Pie with Lattice Crust. As the sweet aroma wafts through your kitchen, it feels like summer vacation, even in mid-January. Picture this: flaky crust cradling juicy, tart cherries, bubbling away like a joyful cauldron of flavors, all topped with a beautiful lattice that not only pleases the eye but also allows that tantalizing cherry goodness to peek through. Trust me; this pie is more than just dessert; it’s a hug from Grandma in a dish.
Now, let’s be honest; making a pie can seem intimidating, right? But fear not, my dough-loving friends! With just a handful of ingredients and a sprinkle of love, you can whip up this delightful Cherry Pie with Lattice Crust that will have your family singing your praises while wondering if you’ve secretly been attending pastry school. Whether it’s a summer BBQ or a cozy autumn dinner, this pie is the perfect sweet spot for all occasions.
Why You'll Love This Cherry Pie with Lattice Crust
- This incredible Cherry Pie with Lattice Crust transforms simple everyday ingredients into restaurant-quality flavors that will blow your mind completely.
- Foolproof recipe techniques guarantee perfect results every single time, making even novice cooks feel like professional chefs instantly.
- Stunning visual appeal with gorgeous colors and mouthwatering aromas creates the ultimate Instagram-worthy dish for any special occasion.
- Endlessly adaptable for different dietary needs while working beautifully for meal prep, date nights, or entertaining large groups effortlessly.
Ingredients for Cherry Pie with Lattice Crust
Here’s what you’ll need to make this delicious Cherry Pie with Lattice Crust:
4 cups fresh pitted cherries – Look for bright red cherries that are firm to the touch; fresh is best, but frozen will work in a pinch.
1 cup sugar – This lovely ingredient sweetens the cherries, balancing their tartness to make a delightful filling.
2 tablespoons all-purpose flour – This helps thicken the cherry juices, so your pie doesn’t leak all over the place when you cut a slice.
1 tablespoon lemon juice – A splash of citrus brightness to enhance the cherry flavor and keep things fresh.
1/2 cup unsalted butter, chilled – Ensure it’s really chilled for a flaky, tender crust that will make you swoon.
2 pie crusts (homemade or store-bought) – Choose your own adventure here; homemade feels special, but store-bought saves time.
1 egg (for egg wash) – This gives your pie that beautiful golden-brown finish that makes it Instagram famous.
1 tablespoon water – Just a tiny amount to mix with the egg and create that shiny finish.
How to Make Cherry Pie with Lattice Crust
Follow these simple steps to prepare this delicious Cherry Pie with Lattice Crust:
Step 1: Preheat the Oven
Preheat your trusty oven to 425°F (220°C). This ensures a warm welcome for your fabulous pie.
Step 2: Make the Cherry Filling
In a large mixing bowl, combine the fresh pitted cherries, sugar, flour, and lemon juice. Gently toss everything together until the cherries are well coated and juicy. No need to be rough; treat them like delicate little gems.
Step 3: Prepare the Pie Crust
Roll out one of your pie crusts and fit it into a pie dish. Gently press it down, ensuring it’s snug and ready to hold that cherry goodness. No air pockets allowed!
Step 4: Fill the Pie
Pour the cherry filling into the prepared crust, spreading it out evenly. Resist the urge to eat all the cherries right then and there; your taste buds will thank you later!
Step 5: Create the Lattice Top
Roll out the second pie crust and cut it into strips. Now, create a beautiful lattice design over the filling. It doesn’t have to be perfect; remember, even an abstract artist can appreciate a good pie!
Step 6: Apply the Egg Wash
In a small bowl, whisk together the egg and water for the egg wash. Brush this mixture over the lattice crust for that golden, glossy appearance as it bakes away to perfection.
Step 7: Bake to Perfection
Bake your cherry pie in the preheated oven for 45-50 minutes until the crust is golden brown and the filling is bubbling happily. Let it cool slightly before serving; no one likes boiling hot pie!
And just like that, you have created a mesmerizing Cherry Pie with Lattice Crust that is sure to impress friends and family alike. Serve it warm with a scoop of vanilla ice cream for the ultimate dessert experience—trust me, watching that ice cream slowly melt into the ooey-gooey cherries is worth the hype.
In the world of cooking, there’s magic to be found in every pie, and this Cherry Pie with Lattice Crust is the perfect way to embrace it. Whether you’re a seasoned pro or a kitchen newbie, this pie is here to remind you that with a little love and a whole lot of cherries, you can whip up something truly special. Enjoy every last bite!
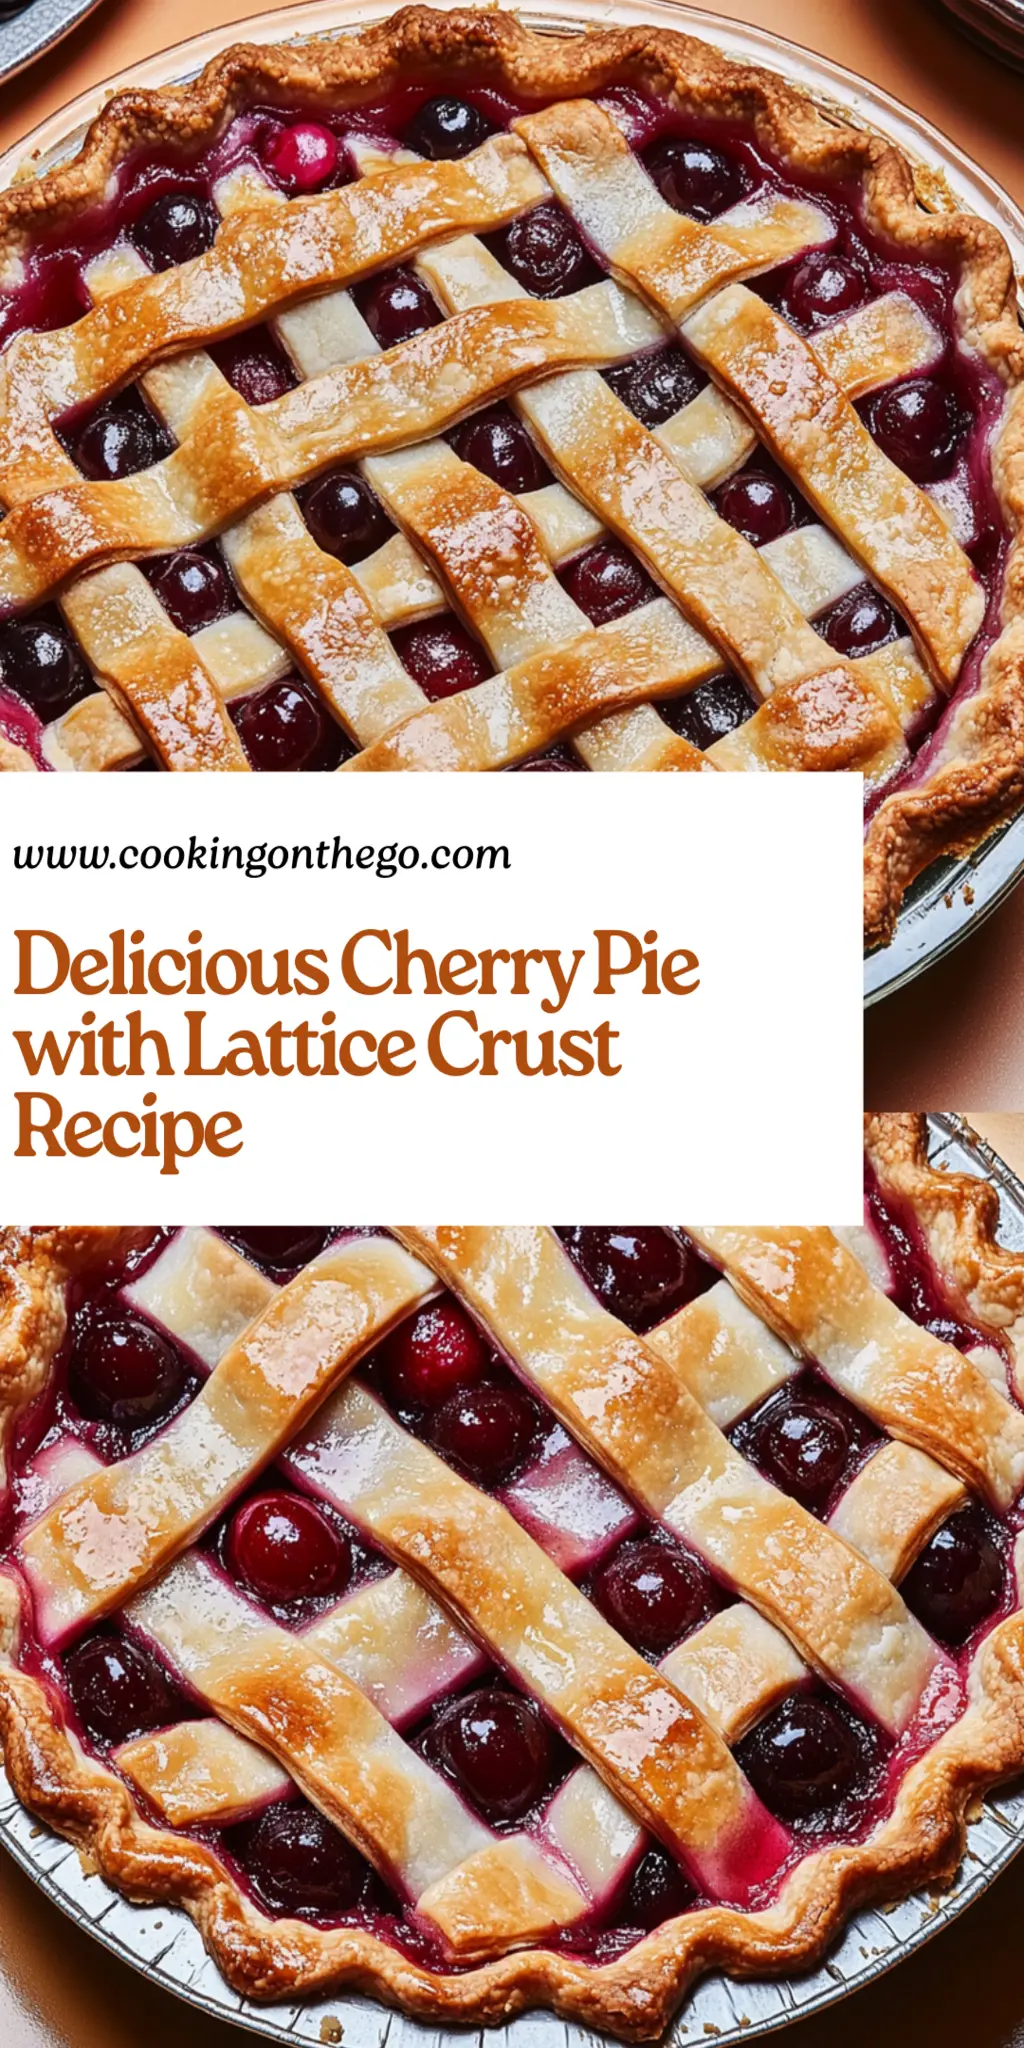
This showstopping Cherry Pie with Lattice Crust delivers restaurant-quality results using simple ingredients you probably already have at home. The perfect balance of textures and flavors creates an unforgettable dining experience that will have everyone asking for seconds. Picture-perfect presentation with vibrant colors makes this dish absolutely Instagram-worthy and guaranteed to impress any dinner guest. Incredibly versatile recipe that works beautifully for weeknight dinners, meal prep, special occasions, or even outdoor entertaining sessions.
Perfecting Cherry Pie with Lattice Crust Cooking Process
To achieve the best results for your Cherry Pie with Lattice Crust, begin by preparing the filling first. While it rests, roll out your pie crusts, then create the lattice topping before assembling everything together for a seamless baking experience.
Add Your Touch to Cherry Pie with Lattice Crust
Feel free to customize your Cherry Pie with Lattice Crust by adding almond extract for a nutty flavor, mixing in other fruits like blueberries, or even sprinkling cinnamon for an extra layer of spice.
Storing & Reheating Cherry Pie with Lattice Crust
Store any leftover Cherry Pie with Lattice Crust in an airtight container at room temperature for up to two days. To reheat, place it in a 350°F oven for about 10-15 minutes until warmed through.
Chef's Helpful Tips for Cherry Pie with Lattice Crust
- This professional-quality Cherry Pie with Lattice Crust relies on precise timing and temperature control to achieve restaurant-standard results consistently.
- Master the art of mise en place by prepping all ingredients beforehand, ensuring smooth execution and preventing any last-minute cooking disasters.
- The secret lies in layering flavors throughout the cooking process rather than seasoning only at the end for maximum depth.
- Pro tip: let the finished dish rest for optimal texture and flavor development before serving to hungry guests waiting eagerly.
The first time I made this Cherry Pie with Lattice Crust, my family was completely mesmerized. The compliments flowed like the cherry juice, and I knew I had cooking magic on my hands for every gathering thereafter.
FAQs About Cherry Pie with Lattice Crust
What is Cherry Pie with Lattice Crust?
Cherry Pie with Lattice Crust is a classic dessert that features a sweet cherry filling nestled between two layers of flaky pie crust. The defining feature of this pie is its lattice top, created by weaving strips of dough to form a beautiful pattern. This not only enhances the aesthetic appeal but also allows steam to escape during baking, resulting in a perfectly cooked filling. Often enjoyed warm with a scoop of vanilla ice cream, this delightful treat is a favorite for special occasions and family gatherings.
How do I make the filling for Cherry Pie with Lattice Crust?
To make the filling for Cherry Pie with Lattice Crust, combine fresh pitted cherries with sugar, flour, and a splash of lemon juice. The sugar helps sweeten the tart cherries, while the flour acts as a thickening agent, ensuring the filling doesn’t become runny. Toss the ingredients together until the cherries are well coated. Let the mixture sit for a bit; this allows the flavors to meld together, resulting in a deliciously balanced filling that’s bursting with cherry goodness.
Can I use frozen cherries for Cherry Pie with Lattice Crust?
Absolutely! Frozen cherries work wonderfully in Cherry Pie with Lattice Crust. They will save you time in the prep process, as they come already pitted. Just remember to thaw them first and drain any excess liquid to avoid a soggy pie crust. You may need to slightly adjust the sugar and flour quantities to ensure the filling retains the right sweetness and thickness, but the result will still be a delightful pie that rivals one made with fresh cherries.
How should I store Cherry Pie with Lattice Crust?
To store Cherry Pie with Lattice Crust, keep it in an airtight container at room temperature for up to two days. If you need to store it for a longer period, consider refrigerating the pie, where it can last up to a week. For the best flavor and flaky texture when reheating, place slices in a 350°F oven for about 10-15 minutes. This ensures the crust remains crisp while warming the delicious cherry filling, making it just as enjoyable as when it was freshly baked.
Conclusion for Cherry Pie with Lattice Crust
Cherry Pie with Lattice Crust is a timeless dessert that combines simplicity with a touch of elegance. With its vibrant cherry filling and visually appealing lattice design, it’s sure to impress at any gathering. Remember to customize the filling to your liking and keep the pie stored properly for maximum freshness. Whether you’re making it for a special occasion or just a cozy night at home, this pie is a delightful way to treat yourself and your loved ones.
Cherry Pie with Lattice Crust
Ingredients
Equipment
Method
- Preheat oven to 425°F (220°C).
- In a bowl, mix cherries, sugar, flour, and lemon juice until well combined.
- Roll out one pie crust and place it in a pie dish. Fill with the cherry mixture.
- Roll out the second crust, cut into strips, and create a lattice design over the filling.
- Brush the lattice with an egg wash (mix of egg and water).
- Bake for 45-50 minutes until bubbly and golden brown.