
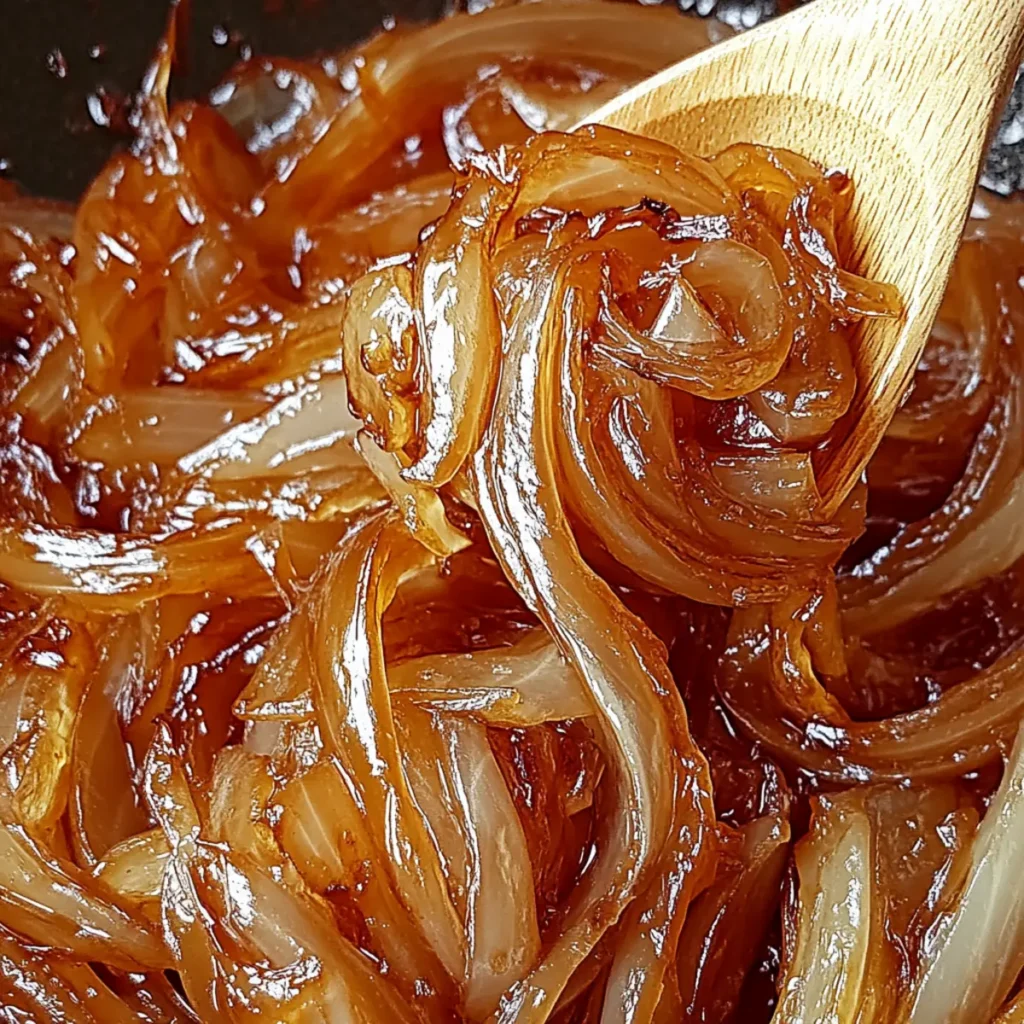
There’s something truly magical about the aroma of caramelized onions wafting through your kitchen. Picture this: those humble yellow onions slowly transforming into a sweet, golden medley, their natural sugars dancing with joy as they turn into luxuriously soft, flavorful morsels that can elevate any dish. Yes, that’s right! Caramelized onions can turn a plain meal into a culinary masterpiece. You can almost taste the harmony they bring to everything from burgers to gourmet pizzas.
Now, let me take you on a trip down memory lane. I still remember the first time I tried caramelized onions at a friend’s dinner party. Those tender, sweet-salty layers wrapped around my taste buds like a warm hug. It was love at first bite! Since then, I’ve made this simple recipe countless times, each time reliving that blissful moment. Whether it’s for a cozy night in or entertaining guests, there’s never a wrong time to whip up a batch of these delicious caramelized onions. Let’s dive into the kitchen magic and discover how easy it is to create these little bites of joy.
Why You'll Love This Caramelized Onions
- This incredible Caramelized Onions transforms simple everyday ingredients into restaurant-quality flavors that will blow your mind completely.
- Foolproof recipe techniques guarantee perfect results every single time, making even novice cooks feel like professional chefs instantly.
- Stunning visual appeal with gorgeous colors and mouthwatering aromas creates the ultimate Instagram-worthy dish for any special occasion.
- Endlessly adaptable for different dietary needs while working beautifully for meal prep, date nights, or entertaining large groups effortlessly.
Ingredients for Caramelized Onions
Here’s what you’ll need to make this delicious Caramelized Onions:
2 large yellow onions – The sweet flavor of yellow onions works best for caramelization. Look for onions that are firm and heavy for their size.
2 tbsp unsalted butter or olive oil – Butter gives a rich flavor, while olive oil keeps it lighter. Choose based on your preference or health needs.
1/2 tsp salt – This enhances the natural sweetness of onions, drawing moisture out and aiding in the caramelization process.
1 tsp sugar (optional) – Adding sugar can speed up caramelization, creating a sweeter flavor profile if you prefer it that way.
How to Make Caramelized Onions
Follow these simple steps to prepare this delicious Caramelized Onions:
Step 1: Slice the Onions
Begin by slicing the onions into thin, even pieces, about 1/8 inch thick. Uniformity is key here, as it ensures even cooking and caramelization.
Step 2: Heat the Skillet
In a large skillet, melt 2 tablespoons of unsalted butter or heat olive oil over medium heat. You want it hot enough that a sizzle is heard when you add the onions but not smoking; keep your attention sharp!
Step 3: Add the Onions
Add those lovely sliced onions to the skillet. Stir them gently with a wooden spoon to coat them in butter or oil, ensuring every piece gets that delicious flavor.
Step 4: Season and Sweeten
Sprinkle in the salt, which helps draw moisture from the onions, and if you’re feeling adventurous, add a teaspoon of sugar. This will enhance the sweetness and speed up the caramelization process.
Step 5: Stir Occasionally
Reduce the heat to medium-low and let the onions cook for about 30–40 minutes. Stir them occasionally; we want them to soften and deepen in color, transforming into that beautiful golden hue.
Step 6: Enjoy or Store
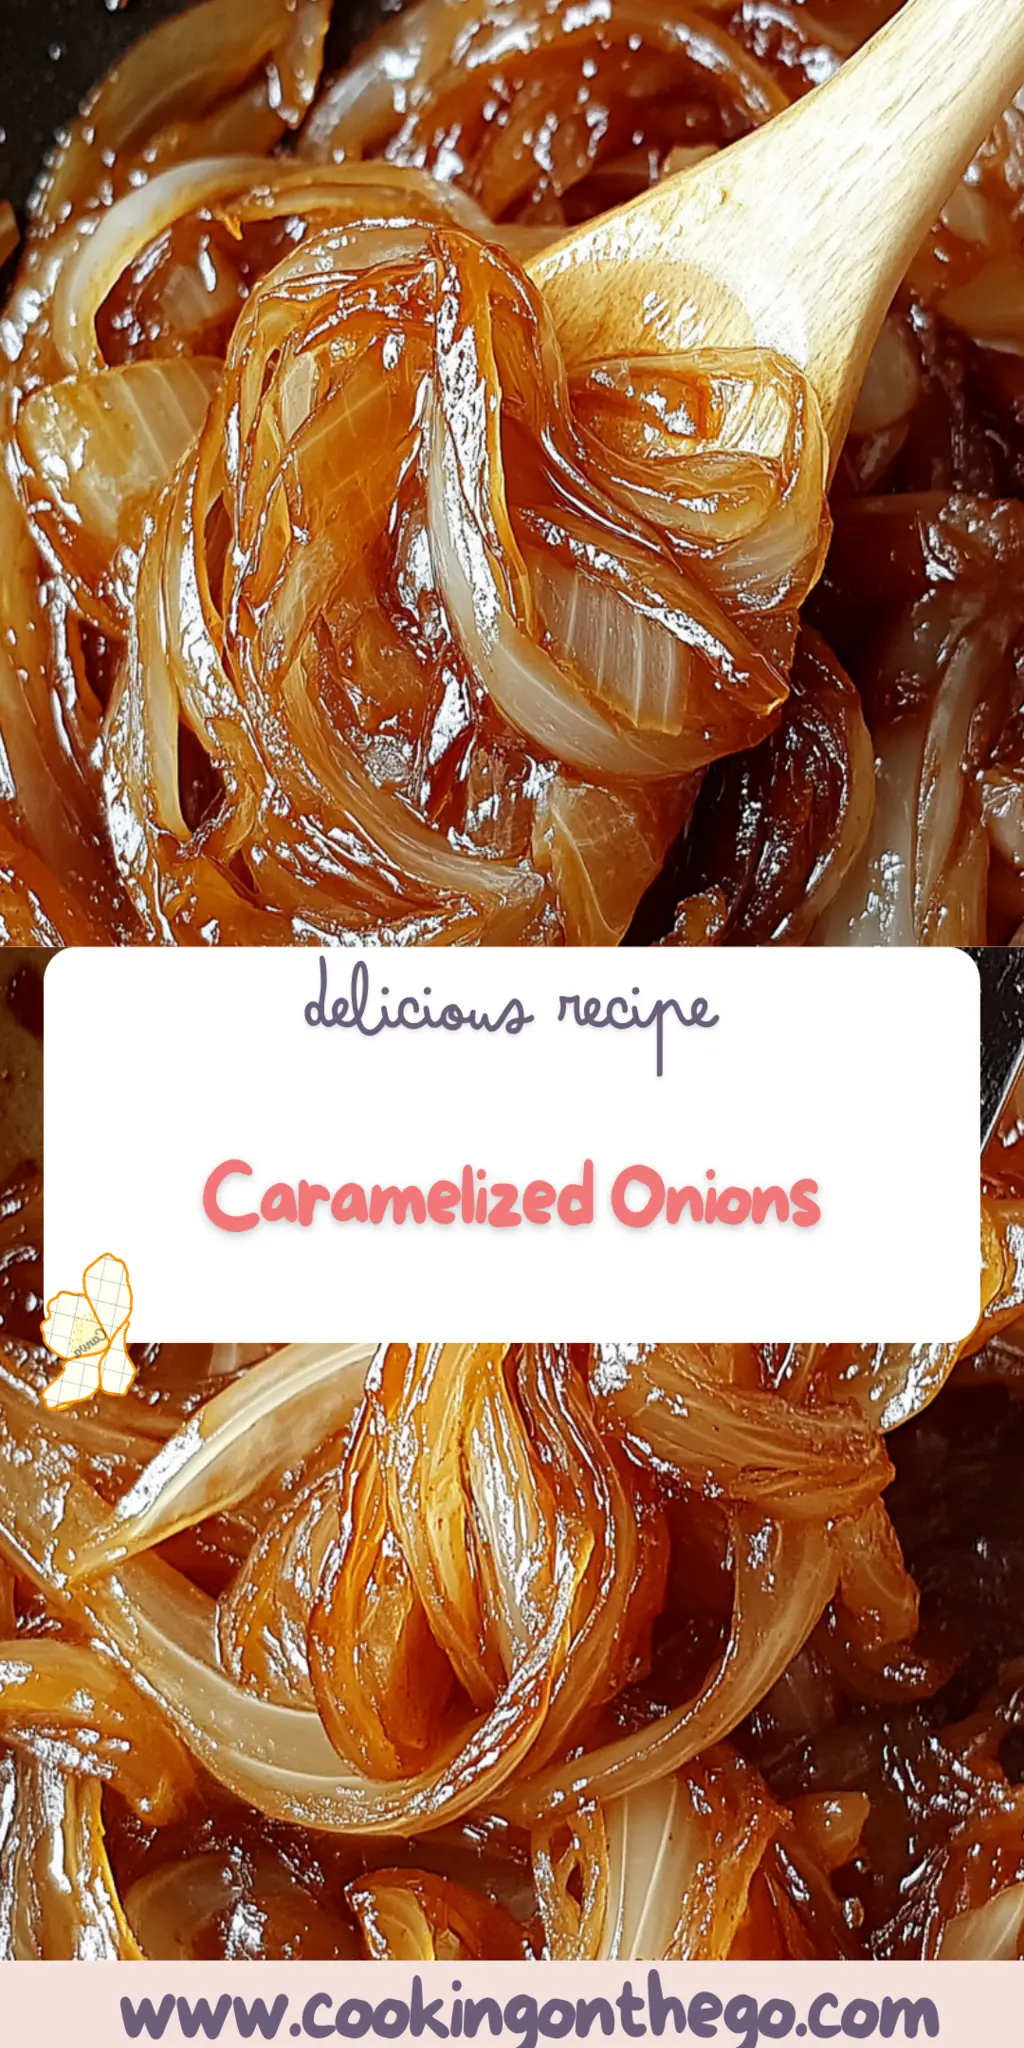
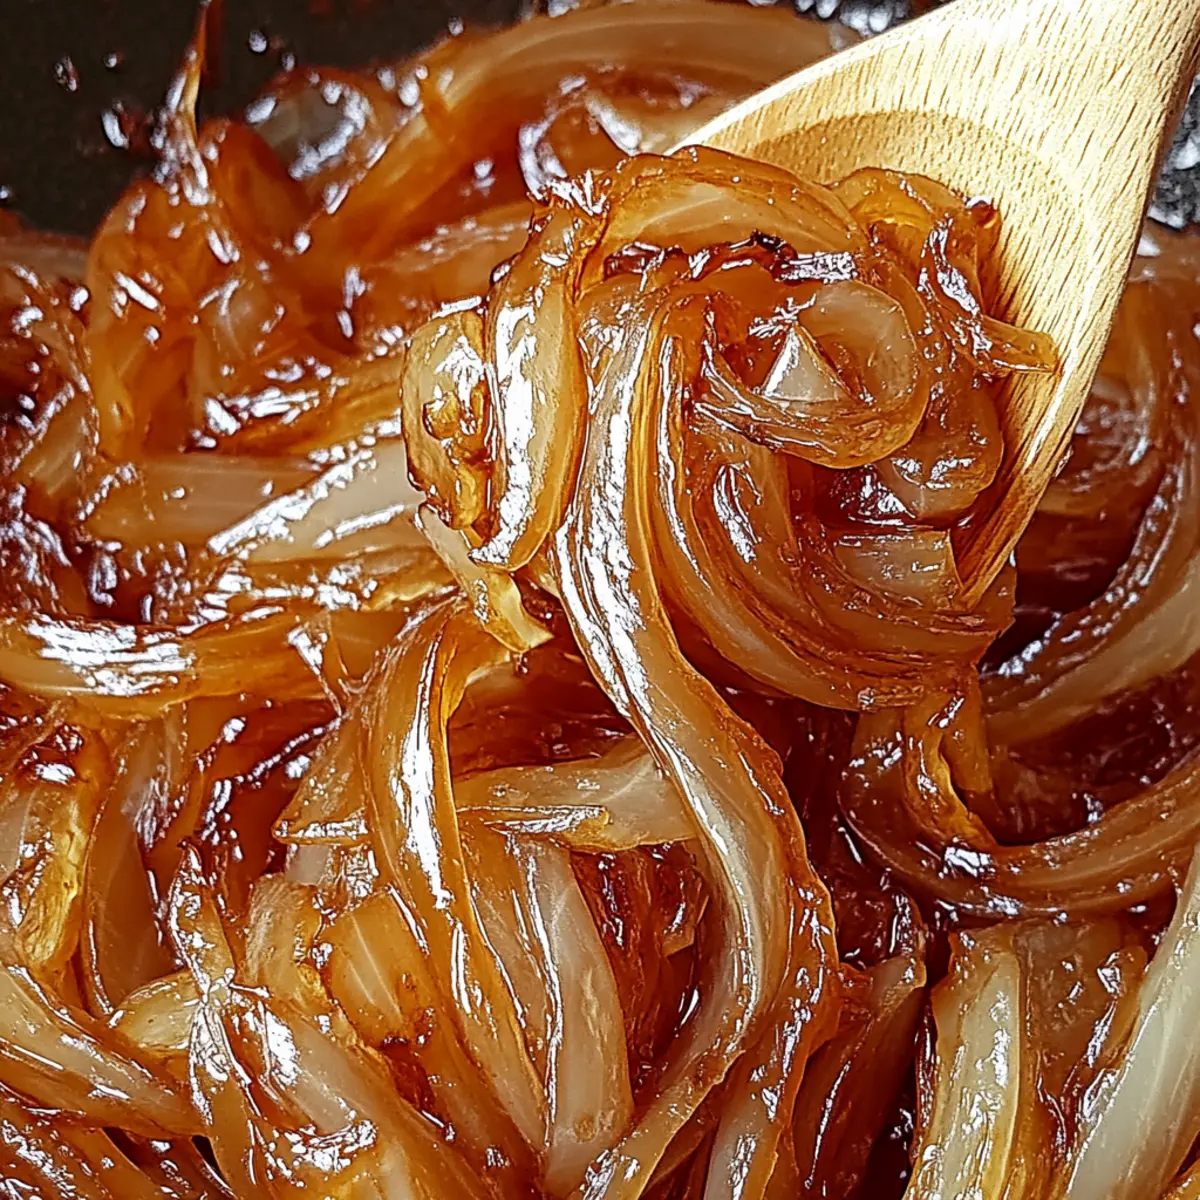
Once they’ve reached a luscious golden brown color and a sweet aroma fills your kitchen, remove them from the heat. Use them immediately, or place them in an airtight container. They’ll keep well in the fridge for up to five days and can be reheated for later use.
Now that you’ve created your own caramelized onions, think about all the delightful ways you can use them! Toss them into pasta, layer them on a cheeseboard, mix them into creamy dips, or even top them on a perfectly grilled steak. The possibilities are truly endless. Enjoy the sweet journey that these caramelized onions take you on!
You Must Know About Caramelized Onions
- This showstopping Caramelized Onions delivers restaurant-quality results using simple ingredients you probably already have at home.
- The perfect balance of textures and flavors creates an unforgettable dining experience that will have everyone asking for seconds.
- Picture-perfect presentation with vibrant colors makes this dish absolutely Instagram-worthy and guaranteed to impress any dinner guest.
- Incredibly versatile recipe that works beautifully for weeknight dinners, meal prep, special occasions, or even outdoor entertaining sessions.
Perfecting Caramelized Onions Cooking Process
To create perfectly caramelized onions, start by slicing your onions uniformly for even cooking. Melt your butter or heat your oil first, then add the onions and season. Let them cook low and slow, stirring occasionally for perfect caramelization.
Add Your Touch to Caramelized Onions
Personalize your caramelized onions by swapping yellow onions for sweet or red onions depending on your taste preferences. Experiment with additional flavors like balsamic vinegar, garlic, or fresh herbs to elevate your dish further.
Storing & Reheating Caramelized Onions
To store your delicious caramelized onions, keep them in an airtight container in the fridge for up to five days. Reheat gently in a skillet over low heat, adding a splash of water or oil if they look dry.
Chef's Helpful Tips for Caramelized Onions
- This professional-quality Caramelized Onions relies on precise timing and temperature control to achieve restaurant-standard results consistently.
- Master the art of mise en place by prepping all ingredients beforehand, ensuring smooth execution and preventing any last-minute cooking disasters.
- The secret lies in layering flavors throughout the cooking process rather than seasoning only at the end for maximum depth.
- Pro tip: let the finished dish rest for optimal texture and flavor development before serving to hungry guests waiting eagerly.
Sometimes when I serve caramelized onions, my friends rave about how they could eat them by the spoonful, which just makes me chuckle—what a compliment for something that started as a simple onion!
FAQs About Caramelized Onions
What are Caramelized Onions?
Caramelized onions are a delicious, slow-cooked transformation of onions that turn sweet and golden brown. This process involves cooking them over low heat for an extended period, allowing their natural sugars to caramelize effectively. The result is a rich, complex flavor that enhances countless dishes, from burgers and pizzas to pastas and salads. Making caramelized onions is a fundamental cooking technique that can truly elevate your culinary creations.
How long does it take to make Caramelized Onions?
Creating perfect caramelized onions takes time, patience, and love—typically around 30 to 40 minutes of cooking. It’s essential to cook the onions over low to medium heat, allowing them to develop their sweet, rich flavor without burning. During this time, give them a stir every so often to ensure even cooking and avoid any sticking. What may seem like a lengthy process is well worth the wait for that deep, delicious taste.
Can I store and reheat Caramelized Onions?
Absolutely! You can store your caramelized onions in an airtight container in the fridge for up to five days. When reheating, it’s best to warm them gently on the stovetop over low heat, adding a splash of water or oil to prevent them from drying out. This way, you can enjoy the rich flavor again, whether it’s in a fresh dish or simply on toast.
What dishes can I use Caramelized Onions in?
The beauty of caramelized onions lies in their versatility. You can add them to soups, use them as a topping for burgers and pizzas, toss them with pasta, or fold them into creamy dips. They also make a fantastic addition to omelets, sandwiches, and salads, lending a sweet and savory punch that transforms any dish into something special. Experiment and have fun incorporating these tasty morsels into your meals!
Conclusion for Caramelized Onions
In summary, caramelized onions are a simple yet remarkable culinary delight that enhances various dishes. With just onions, butter or olive oil, salt, and a bit of time, you can create a stunningly sweet and savory component for your meals. Remember to slice the onions evenly, cook them low and slow, and stir occasionally for the best results. Adding caramelized onions to your repertoire will undoubtedly impress your family and friends, proving that sometimes, the simplest ingredients produce the most extraordinary flavors. Enjoy your cooking adventure with caramelized onions!
Deliciously Simple Caramelized Onions Recipe for Beginners
Ingredients
Equipment
Method
- Slice the onions thinly, aiming for uniform pieces about 1/8 inch thick.
- In a large skillet over medium heat, melt the butter or heat the olive oil until hot but not smoking.
- Add the sliced onions to the skillet and stir gently with a wooden spoon.
- Sprinkle in the salt and, if desired, add sugar to enhance sweetness.
- Cook on medium-low heat for 30–40 minutes, stirring occasionally until the onions are beautifully golden brown and caramelized.
- Remove from heat and use immediately or store in an airtight container in the fridge for up to five days.